Stretch Twill Shorts Comparison

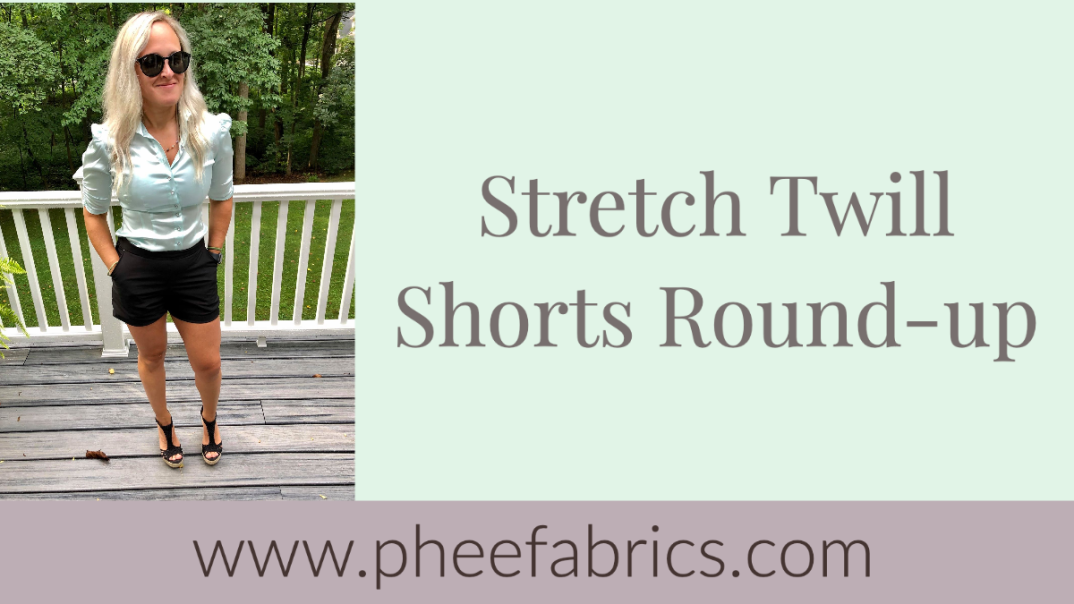
Don’t we all love those comparison blogs? A chance to see a couple different patterns worked up in the same fabric base.  So, Amie, Jessica and Melissa  sewed up different women’s shorts patterns all in Stretch Twill

To read about finishing techniques or watch finishing videos, click the buttons below

Sonia Estep Designs Bahama Bottoms

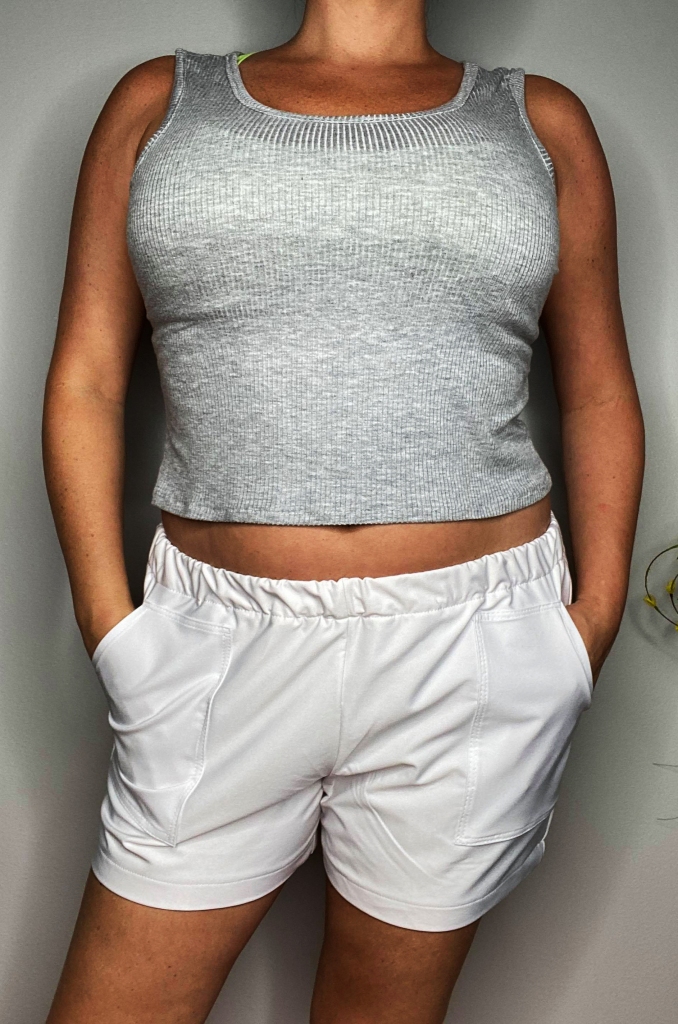
Sizes:  Women’s 00-30

Size Made: 8

Drafted For:  5′ 5″

Pattern Options:  drawstring, four inseam lengths, front patch pockets, and back patch pockets with flap.

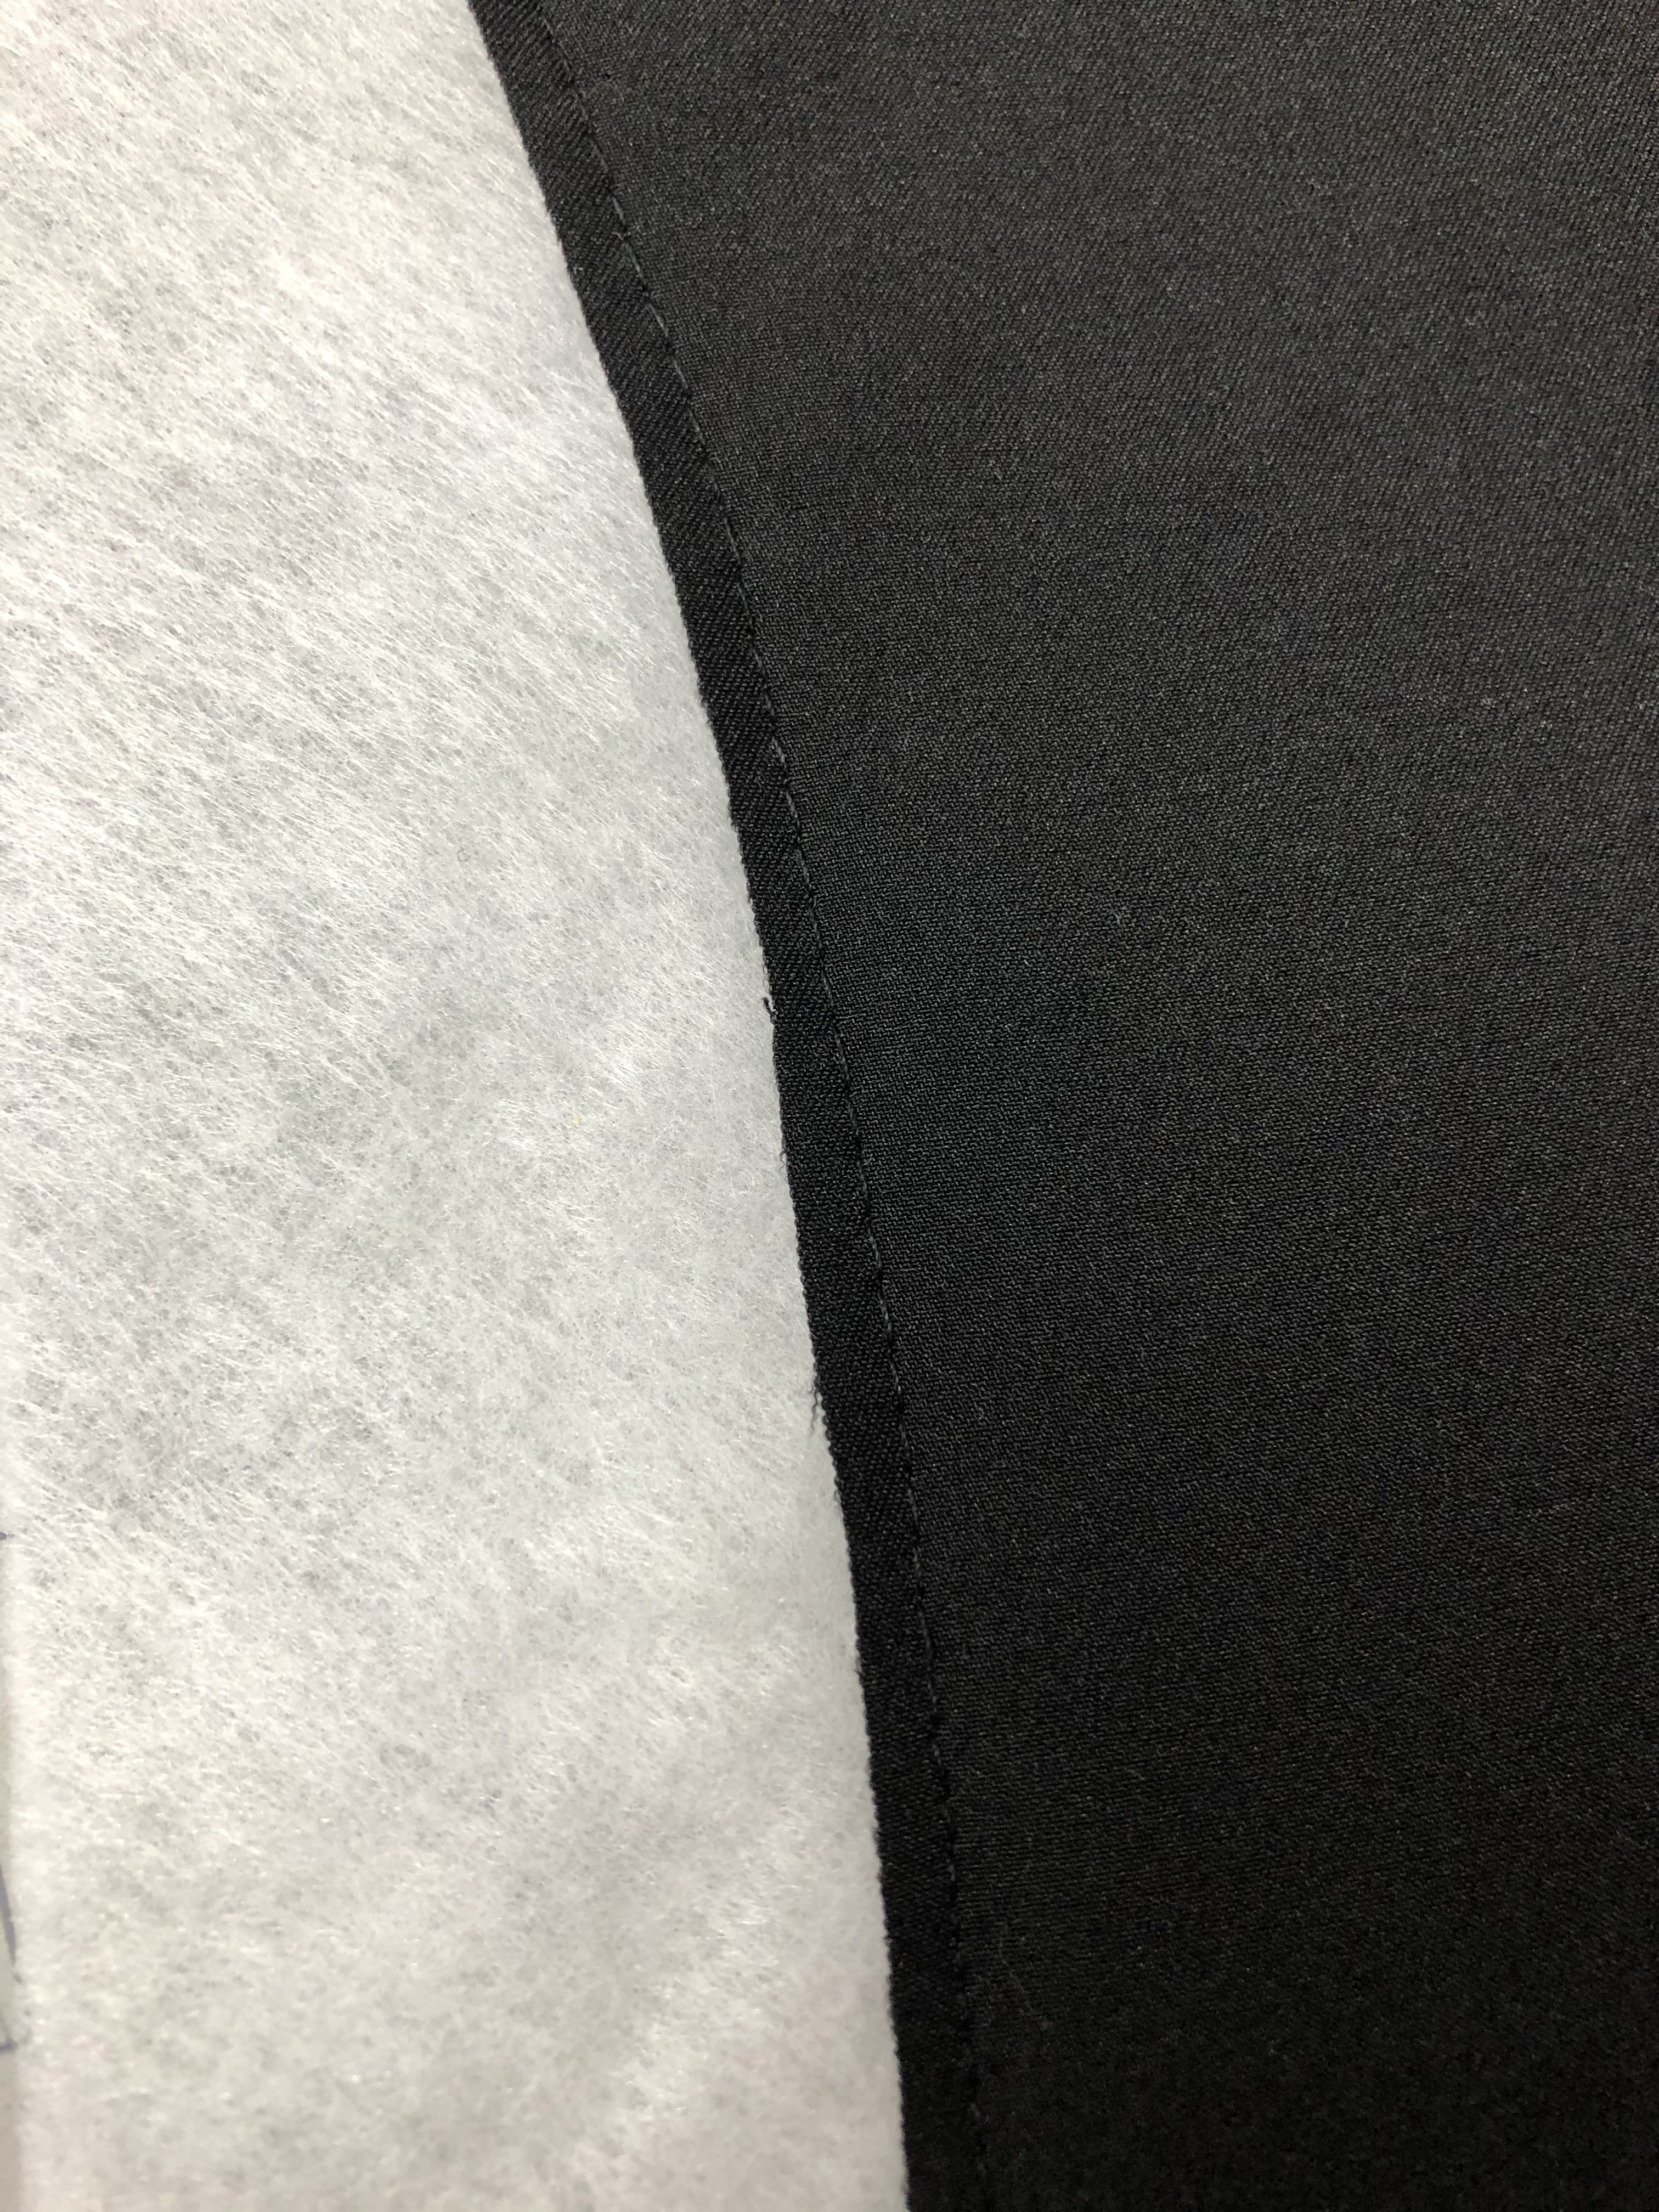
Fabric used:  White Stretch Twill

Comments:  If you are nervous about sewing wovens or are a beginner this is a great pattern to start with. The pockets aren’t mandatory and the Phee Fabrics blogs and YouTube channel has amazing techniques to help along the way, like French Seams!

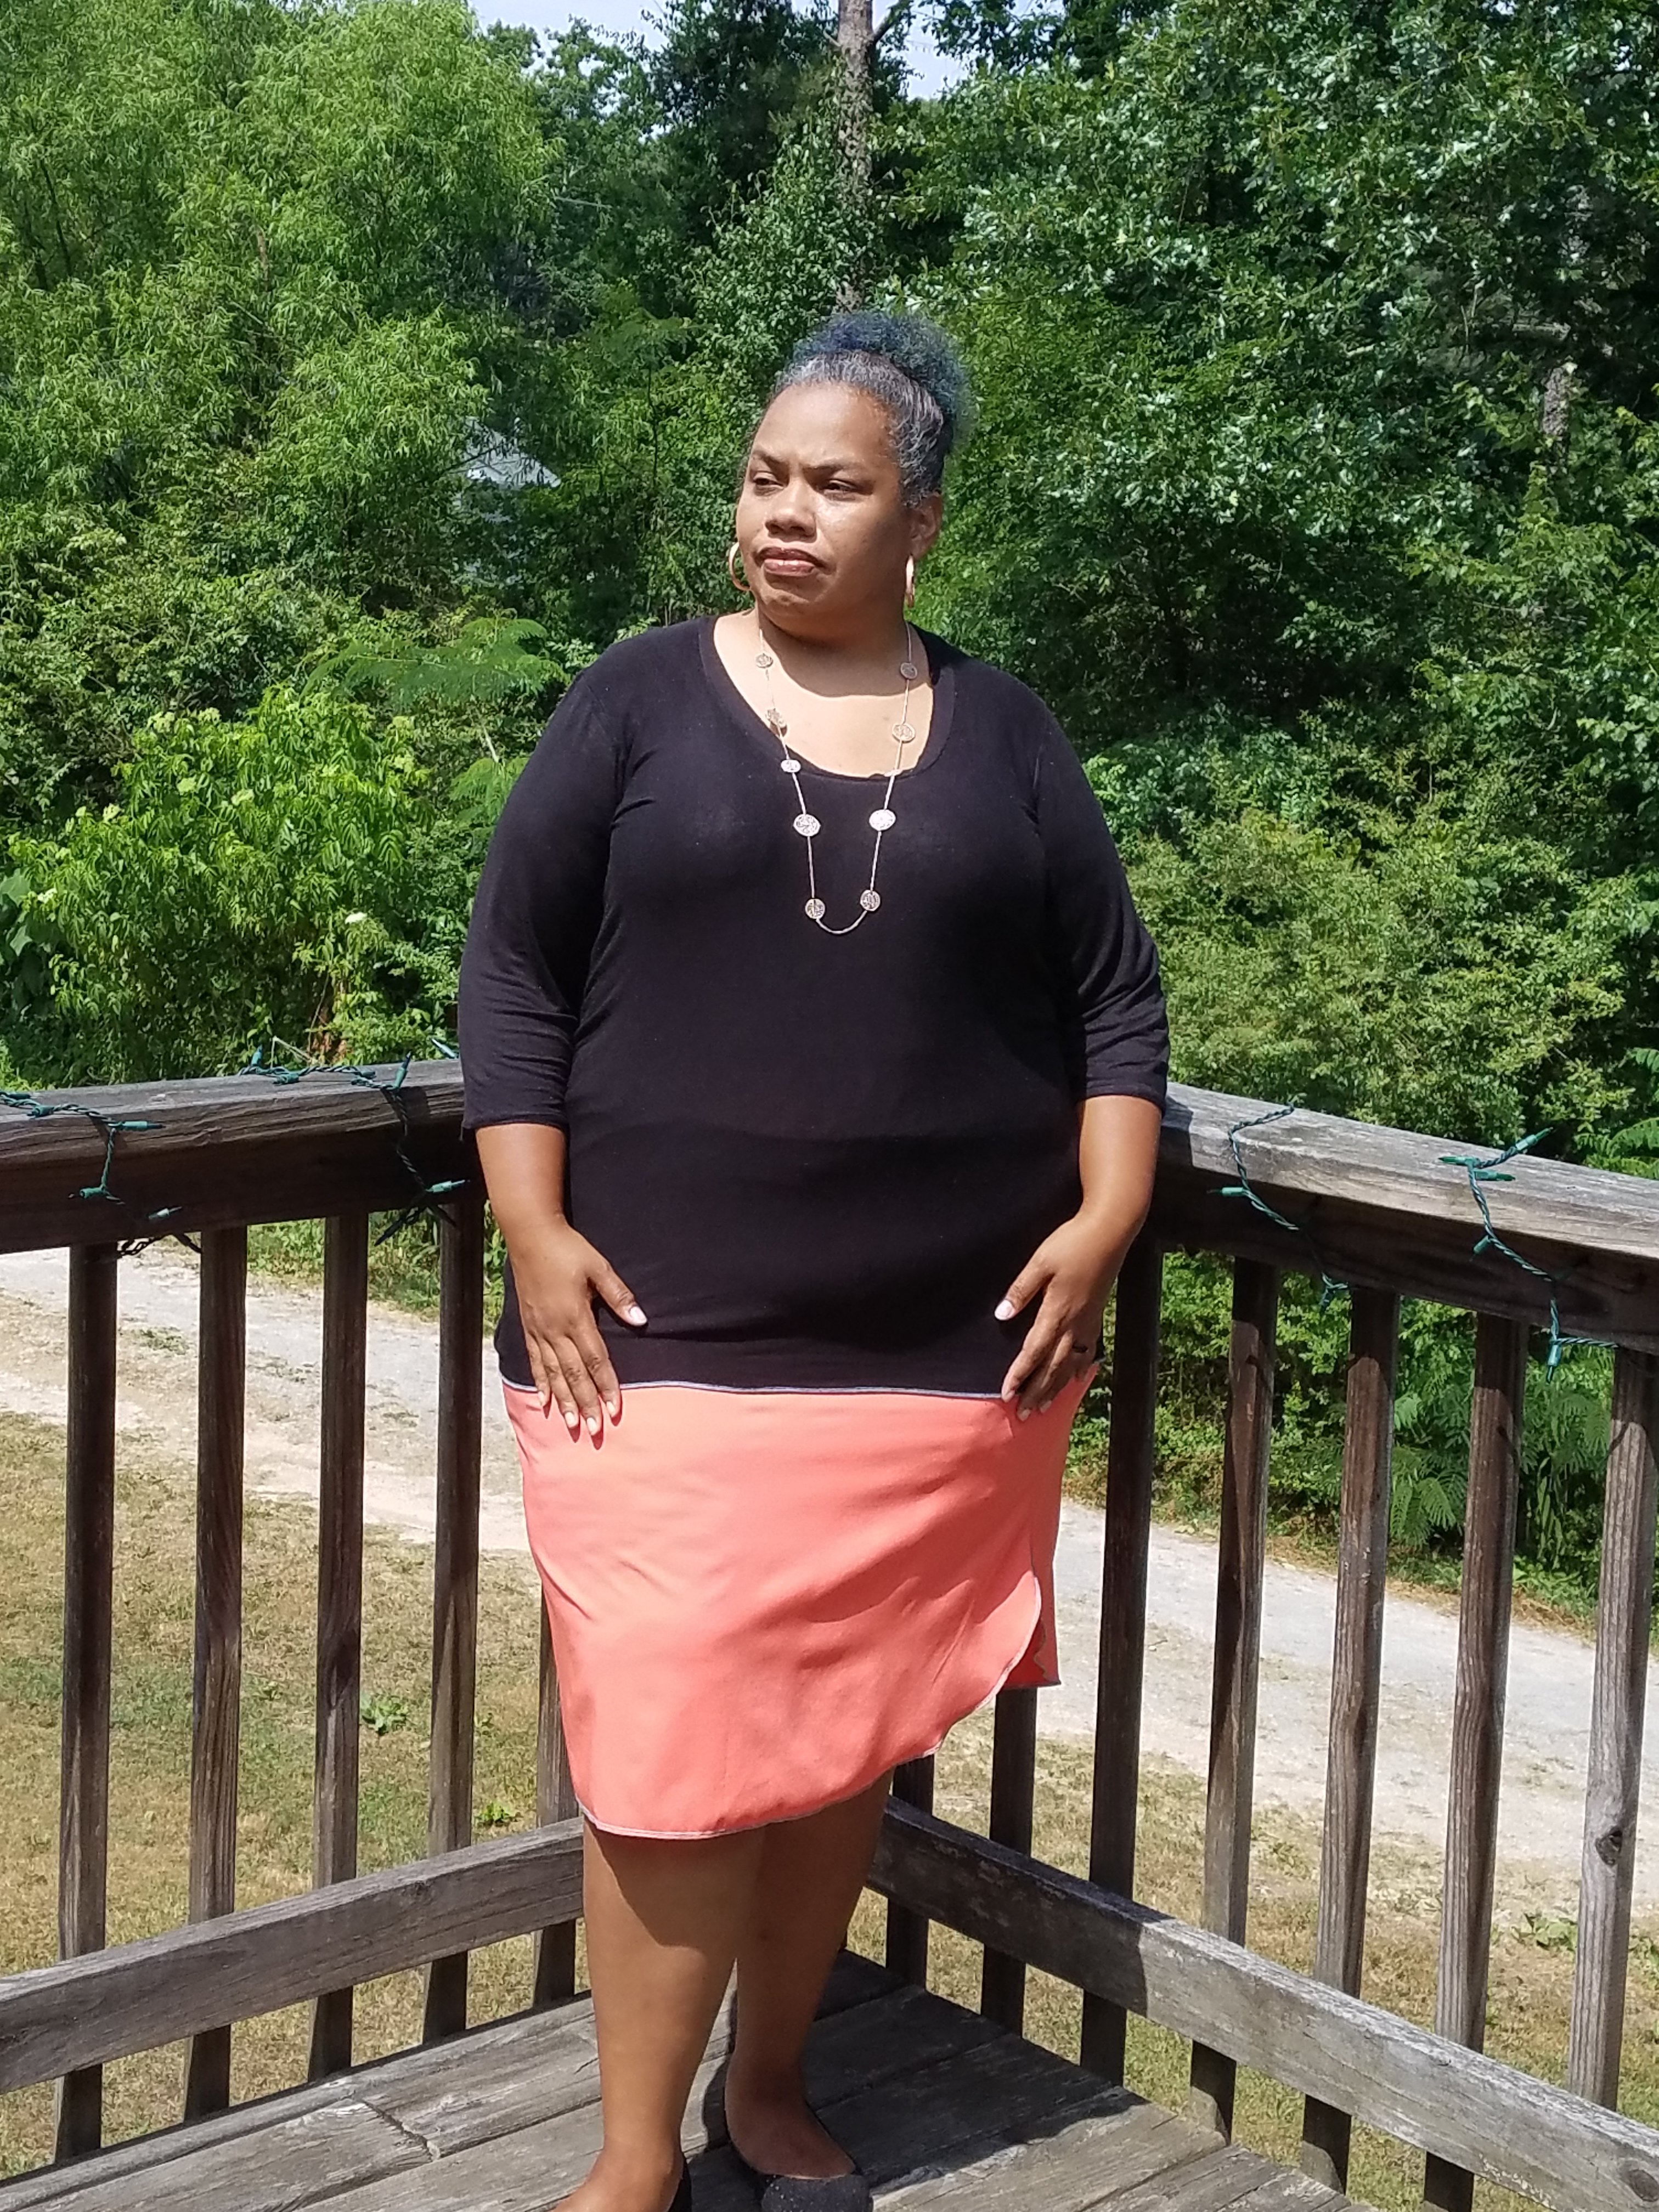
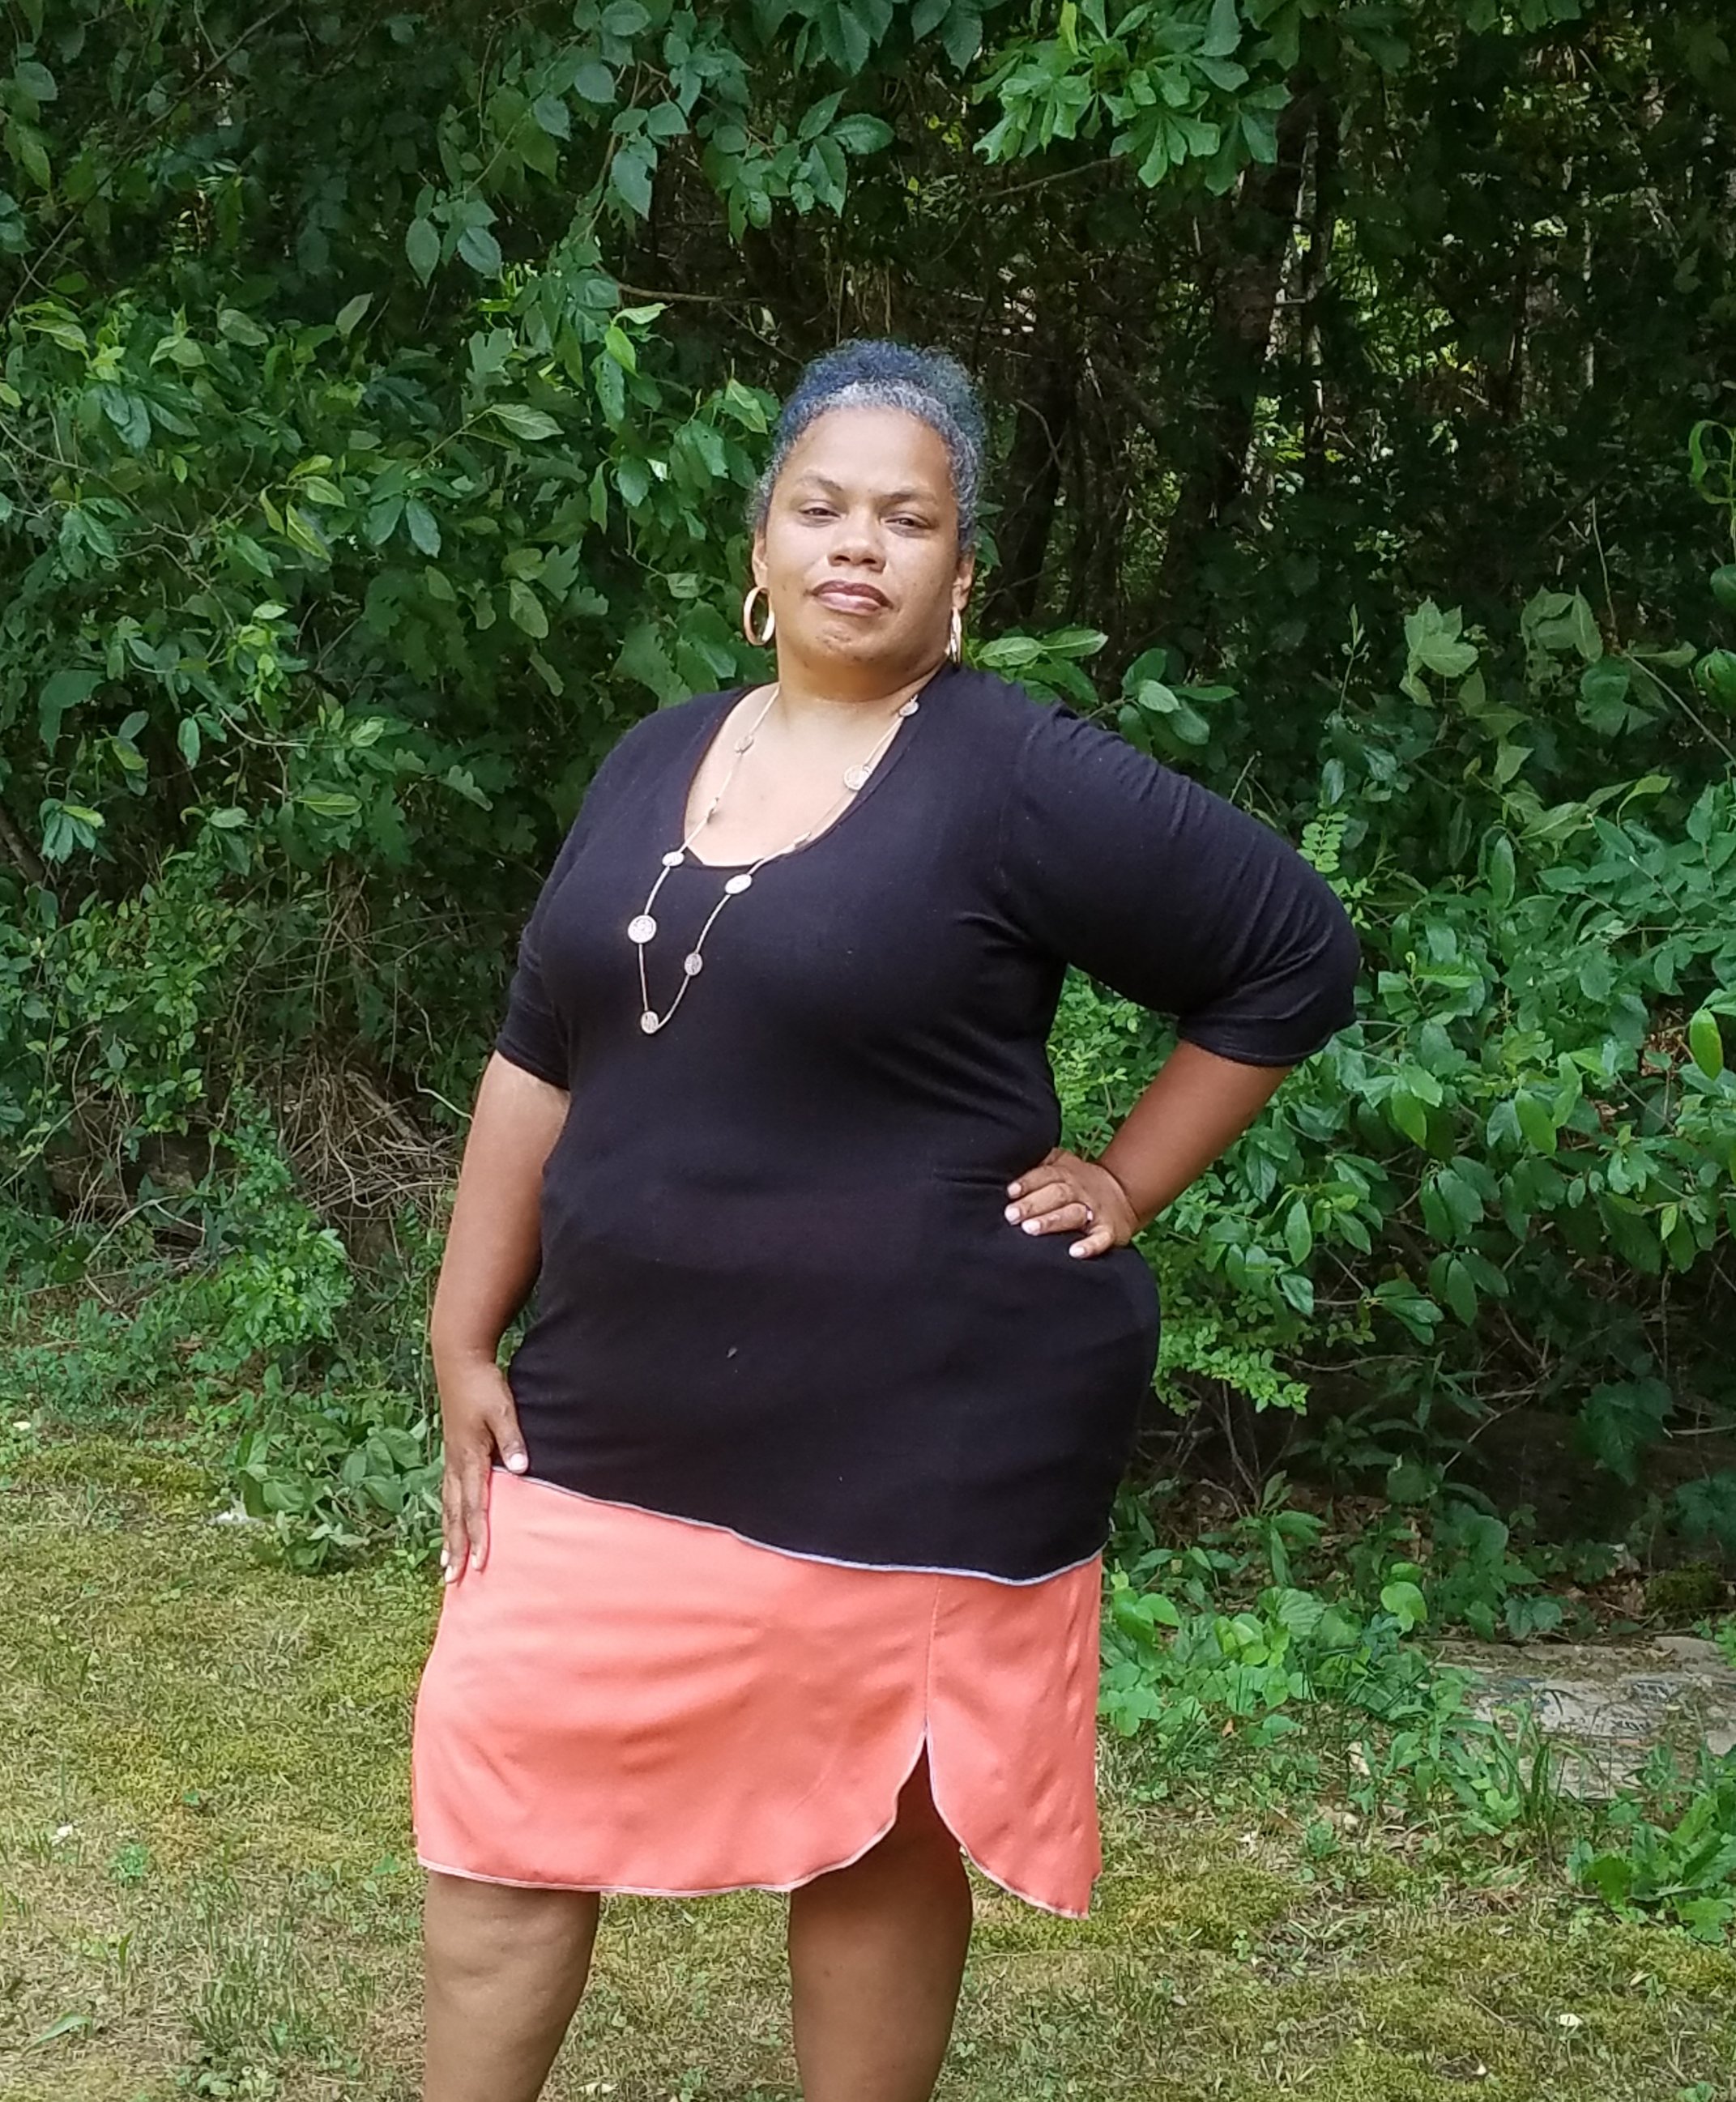
Violette Field Threads Lilly (misses)

Sizes:  0-16

Size Made:  16

Drafted For:  5′ 6″

Pattern Options:  high rise, regular rise, low rise, faux flat elastic front

Intended Fit:  Slim fit, and designed to hit top of mid thigh.

Options Made:  Regular rise

Fabric used:  Charcoal stretch twill

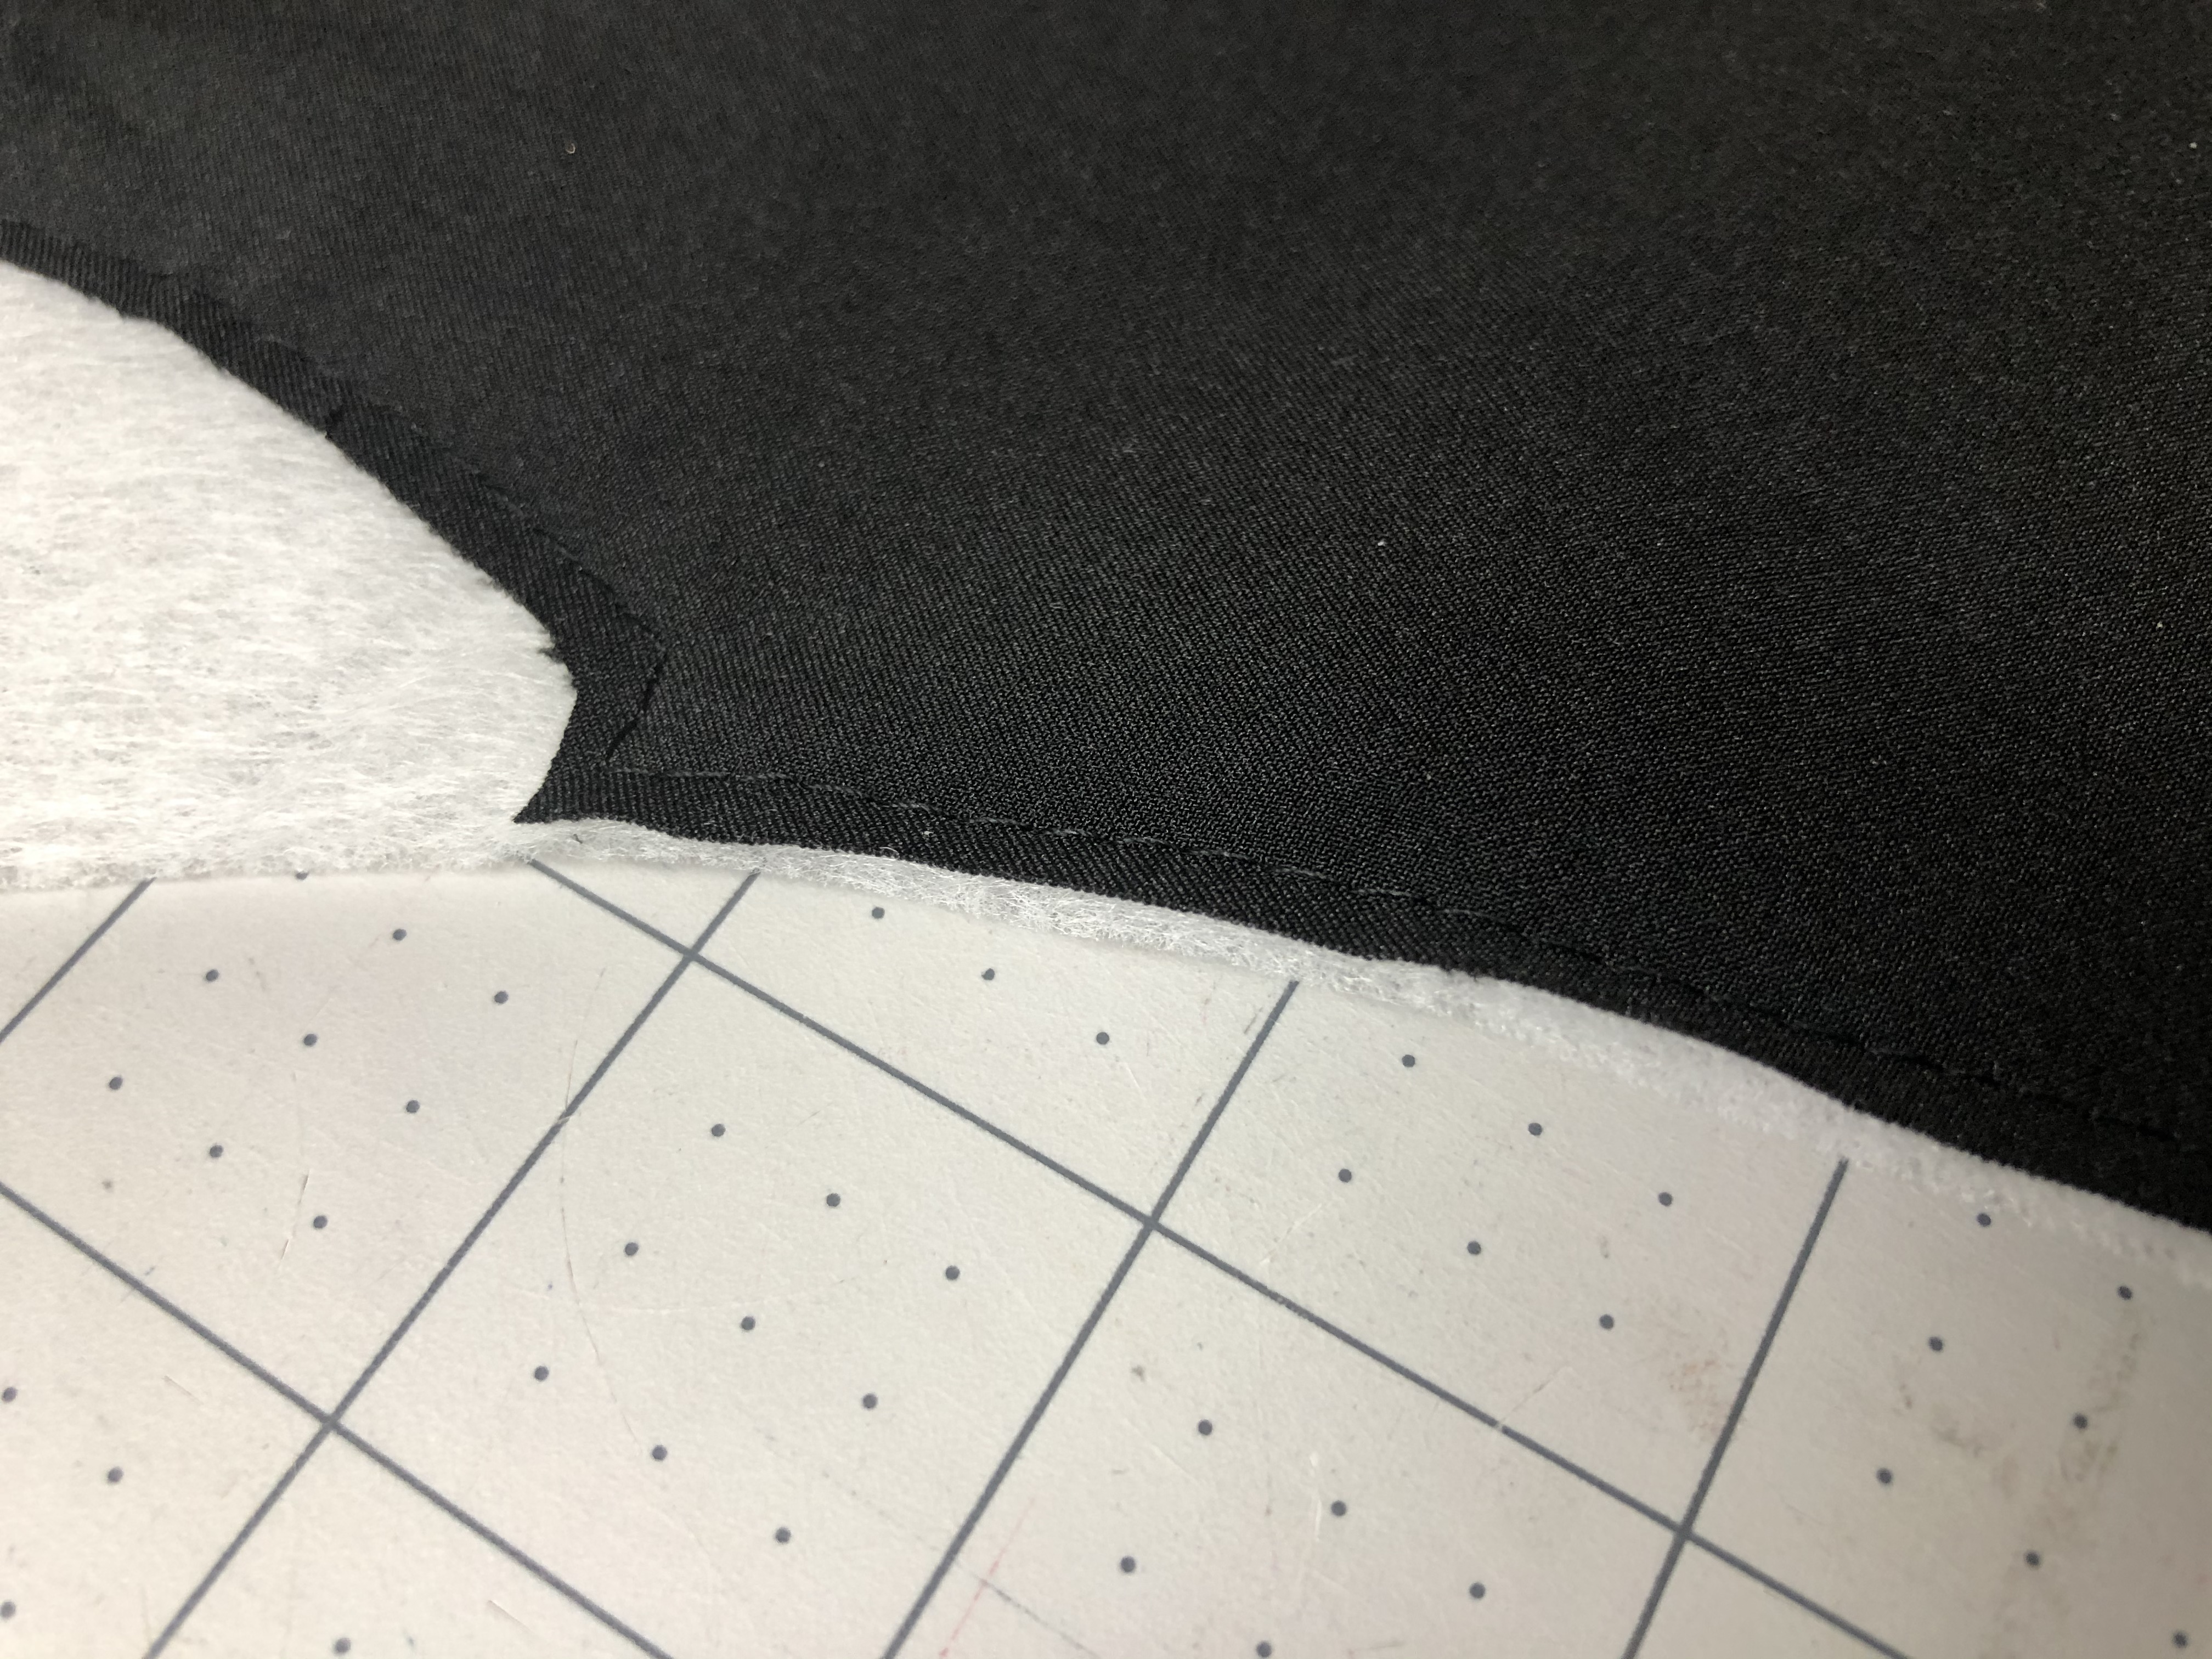
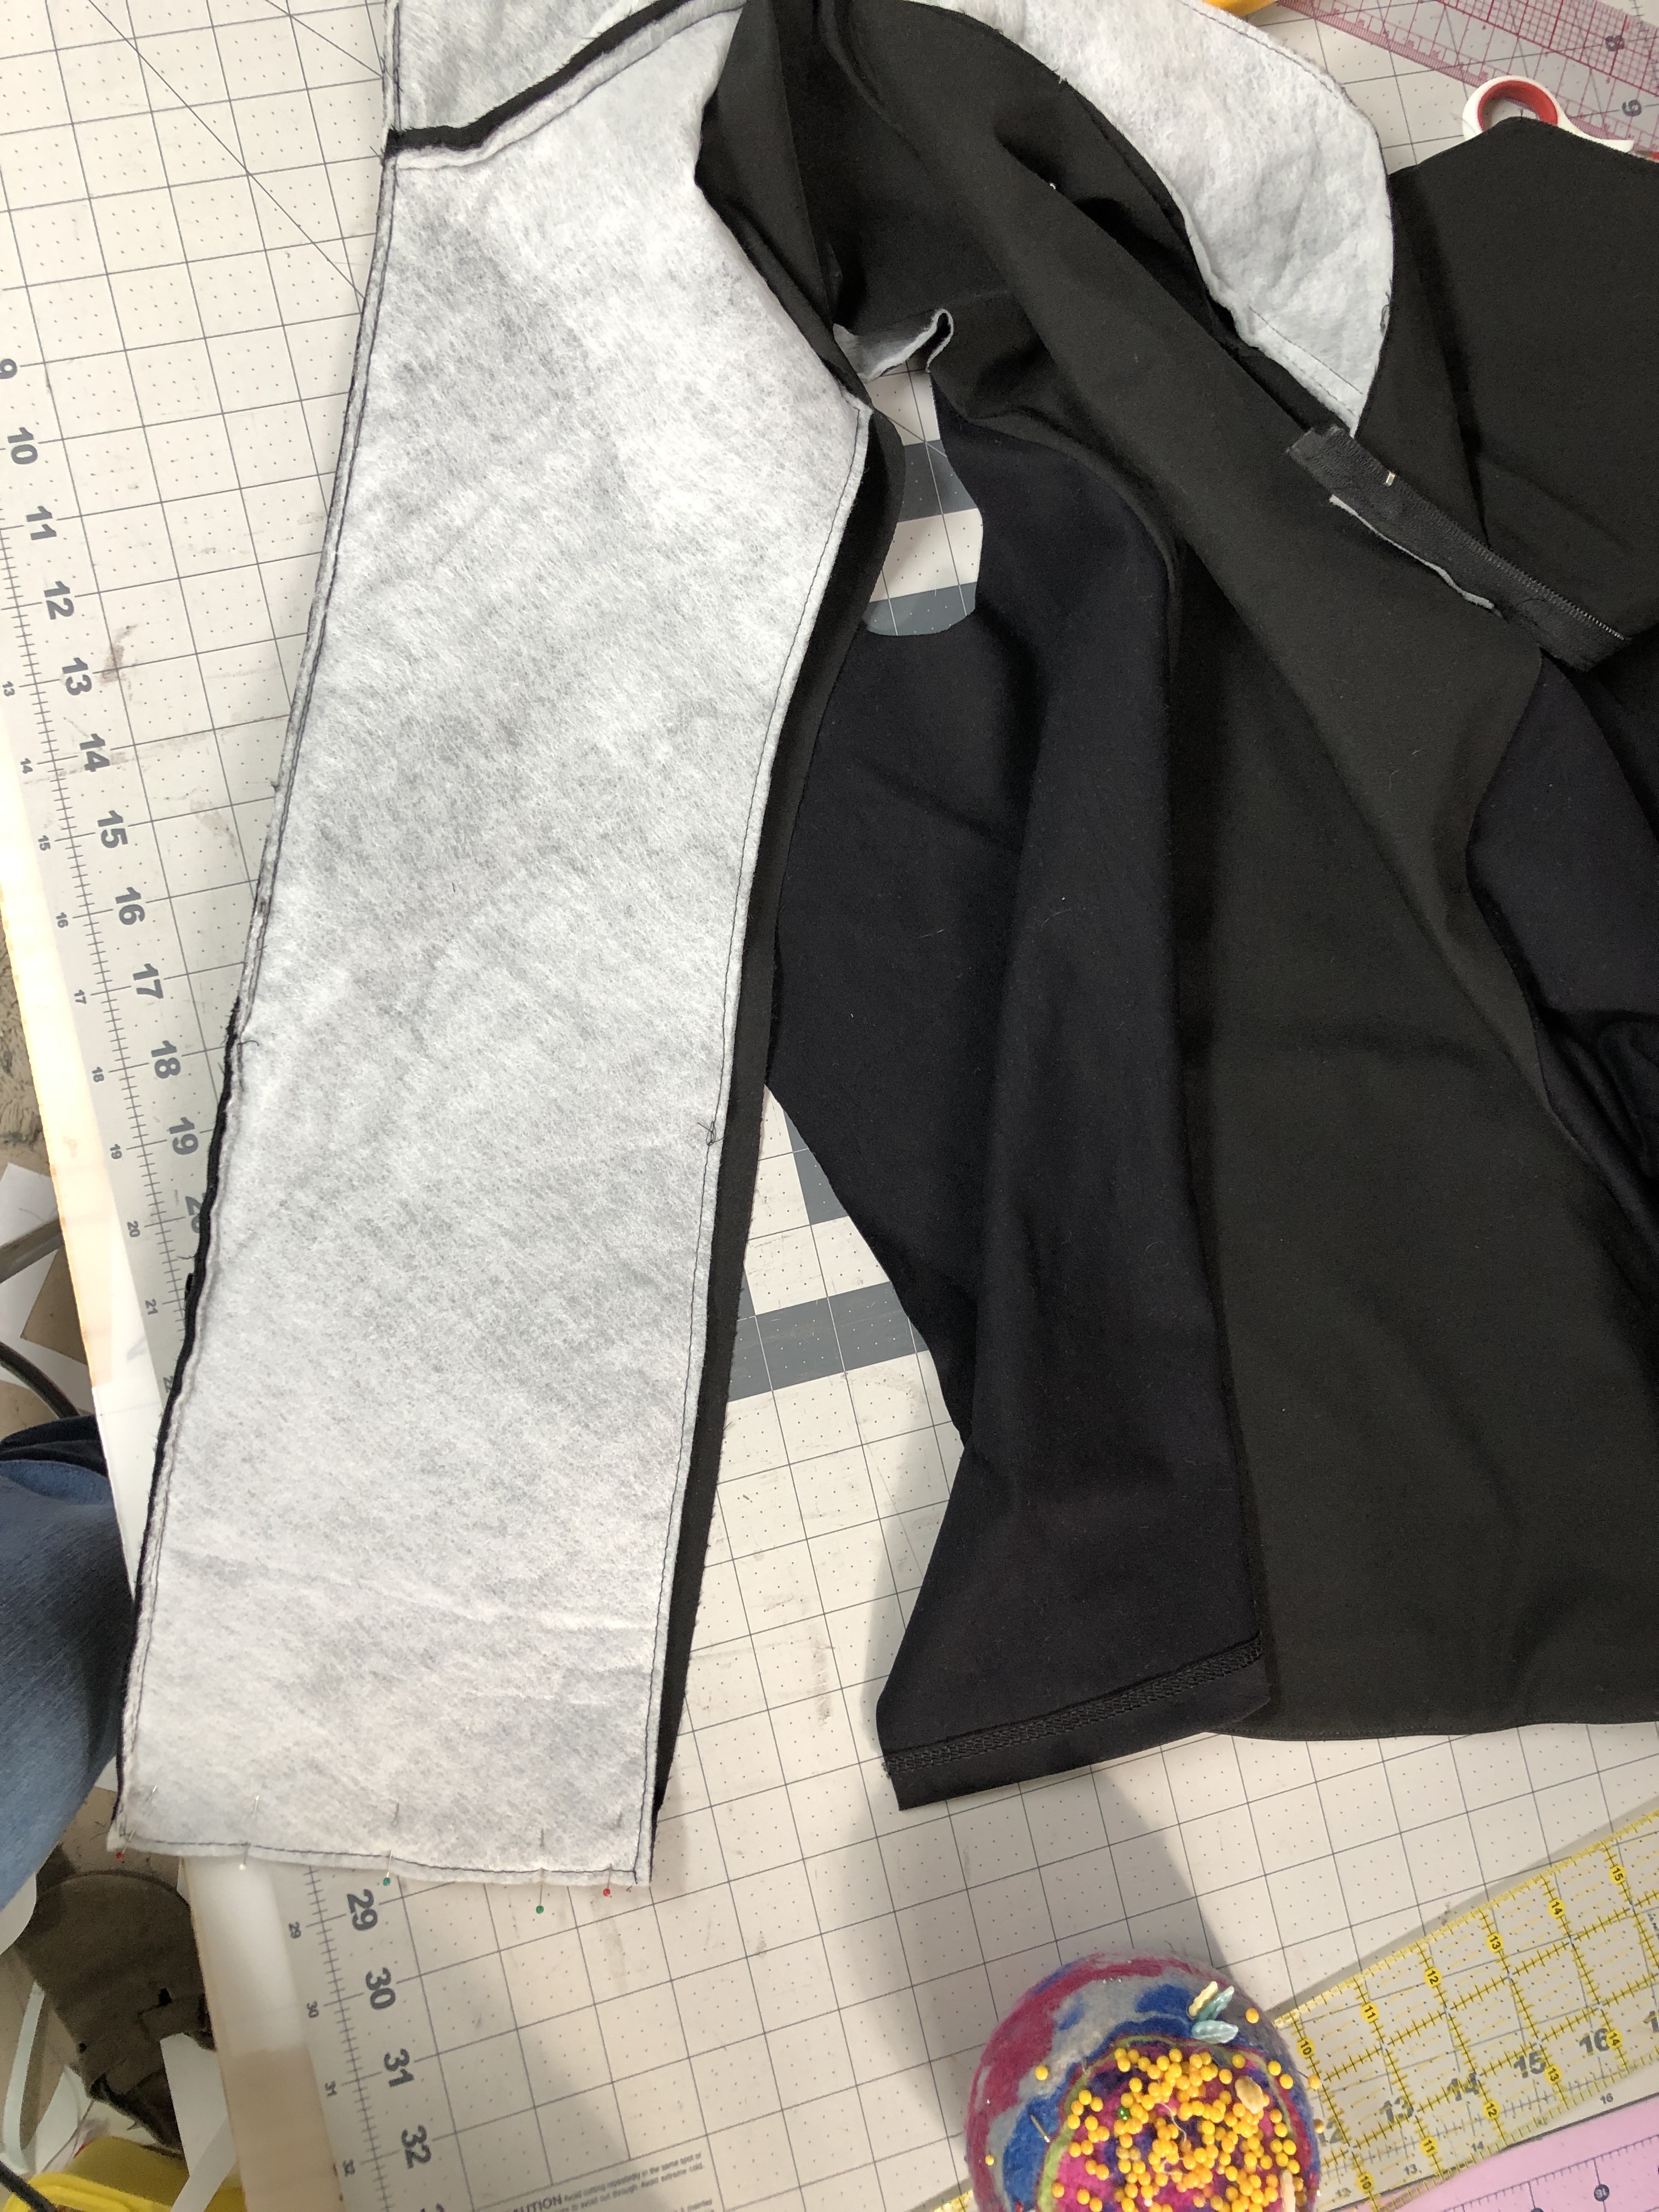
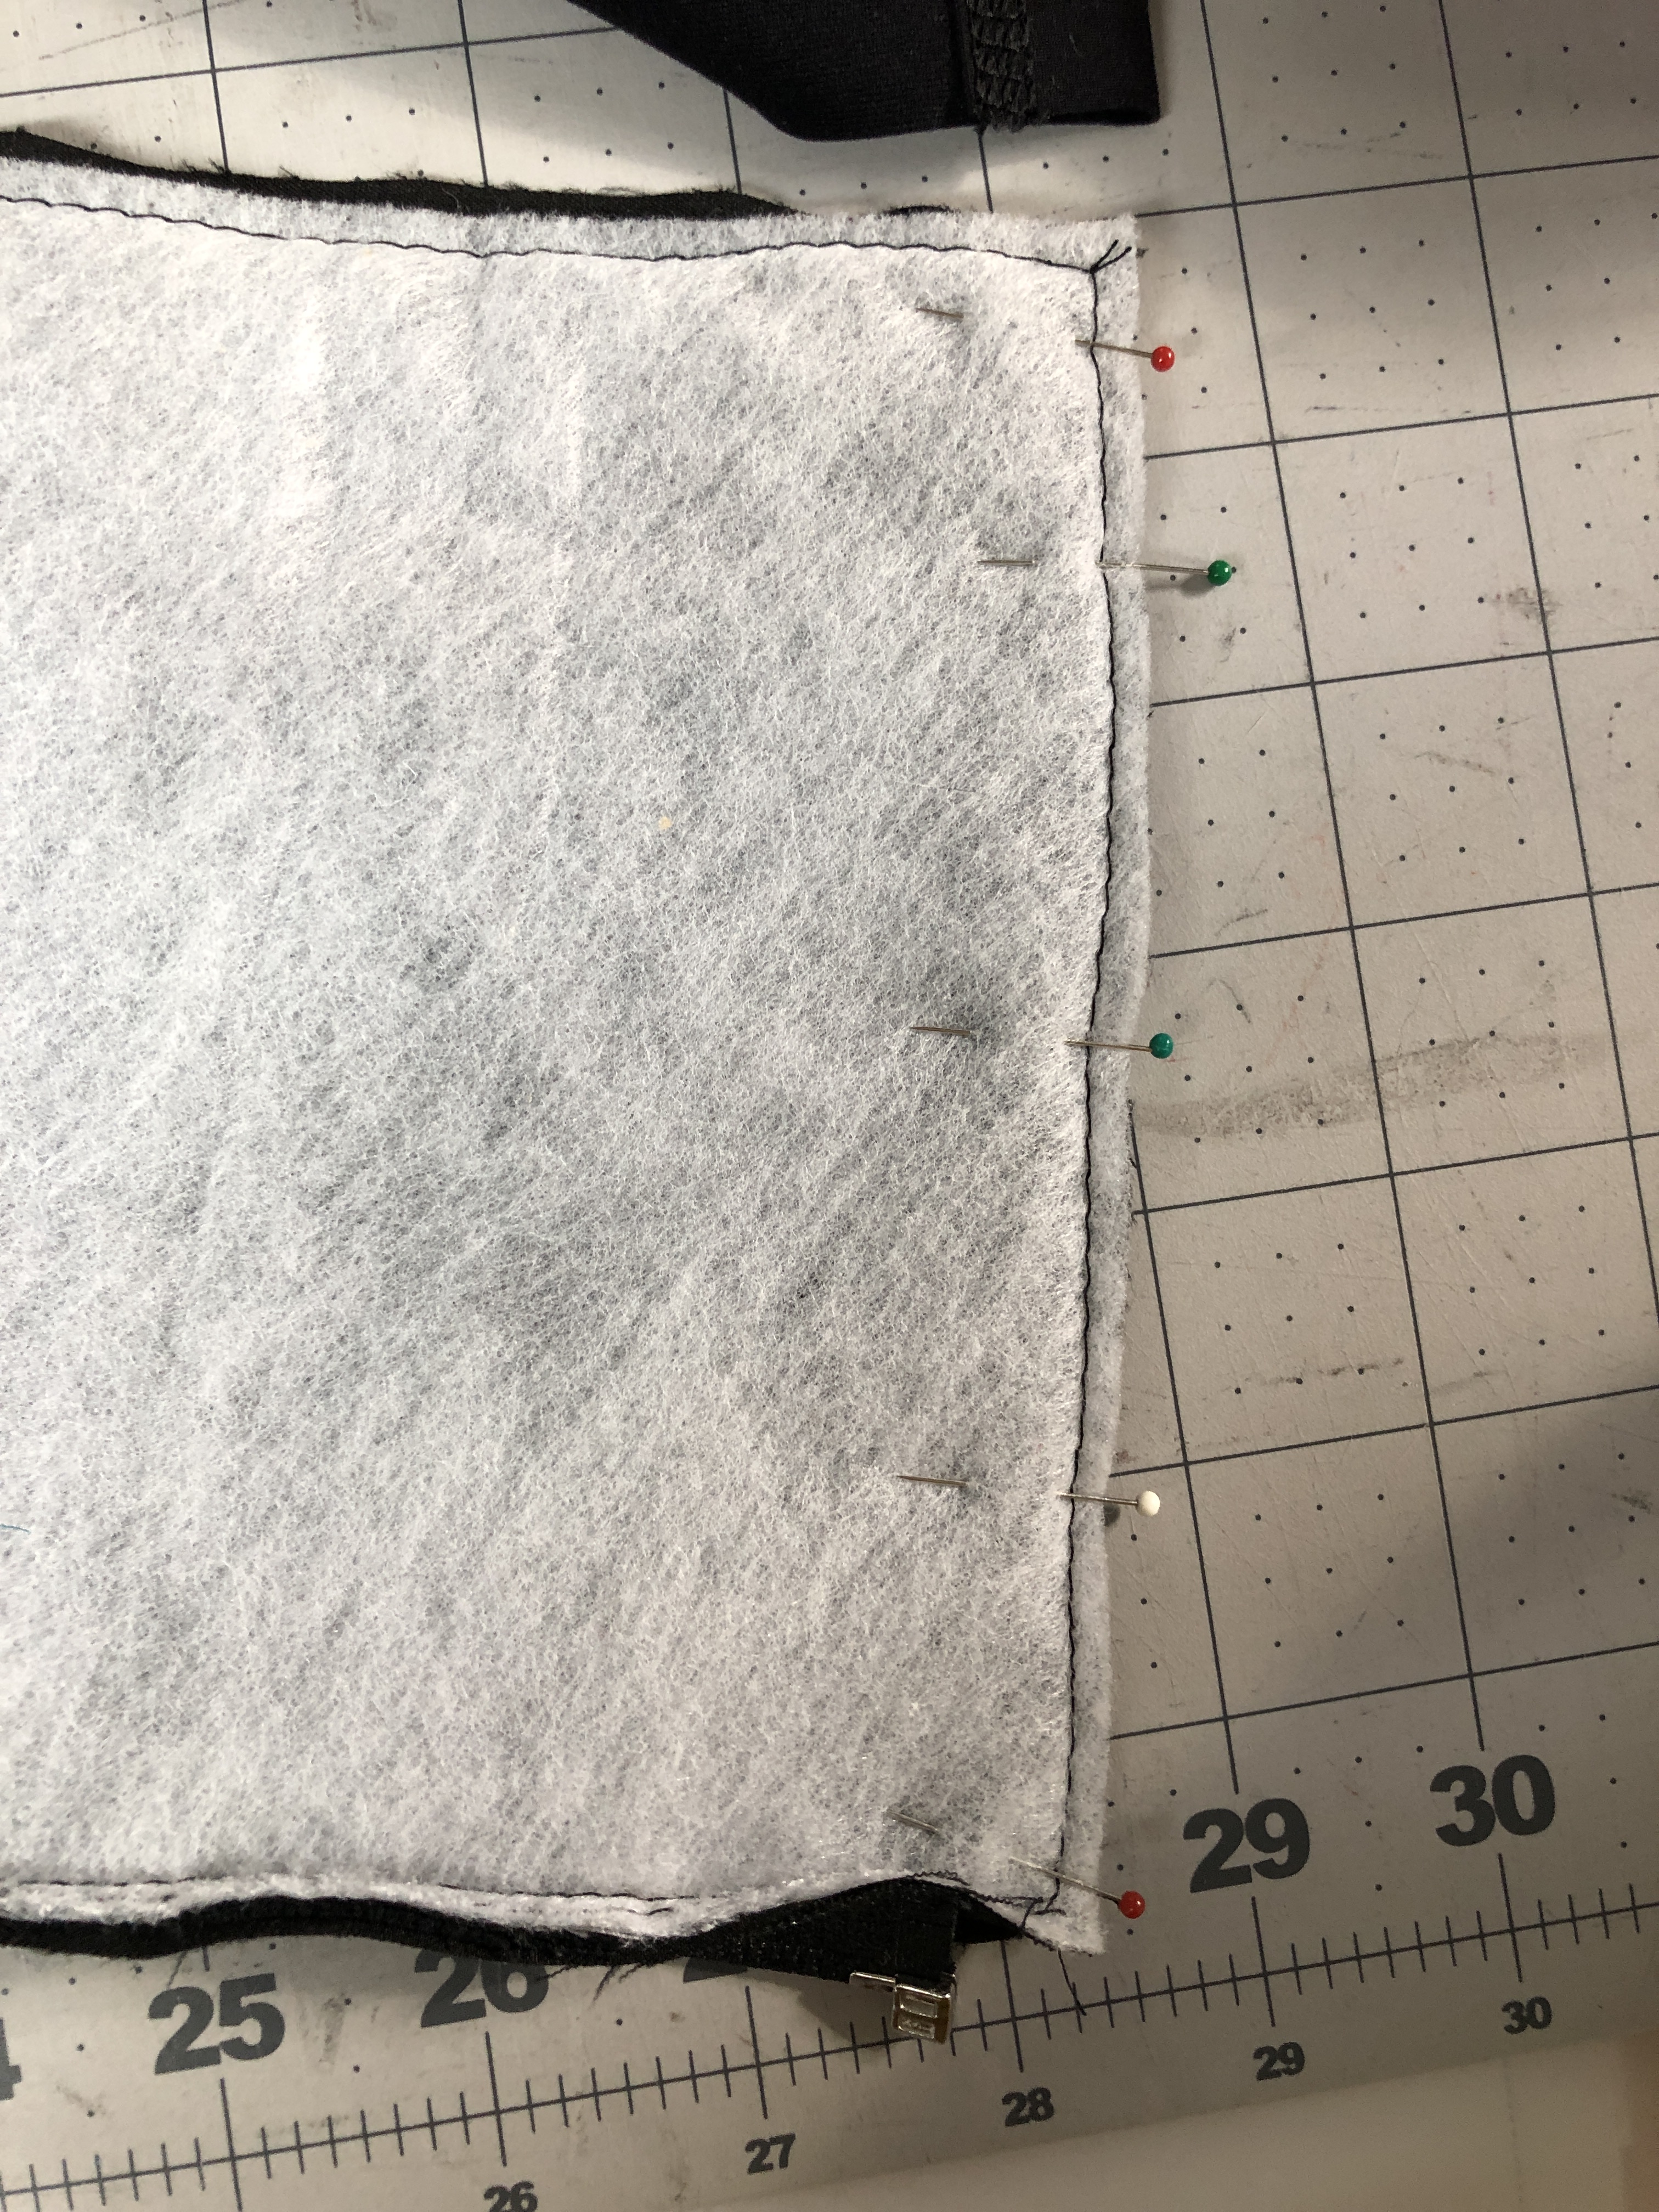
Comments:  I love that this pattern had a lining sewn into it. In the construction steps, it mentions that 2 sets of mirrored front pieces are needed, 2 main, and 2 lining (4 total).   Since this pattern is in Misses sizes, it is not very inclusive.  The print guide, cut chart, and instructions are limited. 

Fit:  I was concerned that these would be too tight, and not fit with them being “slim fit so I reduced the seam allowance by 1/8″. This has made them more of a relaxed fit. The pattern calls for 1″ elastic but I used 1.5″. For the next pair I’m going to attempt making the inseam shorter.

Striped Swallow Coachella

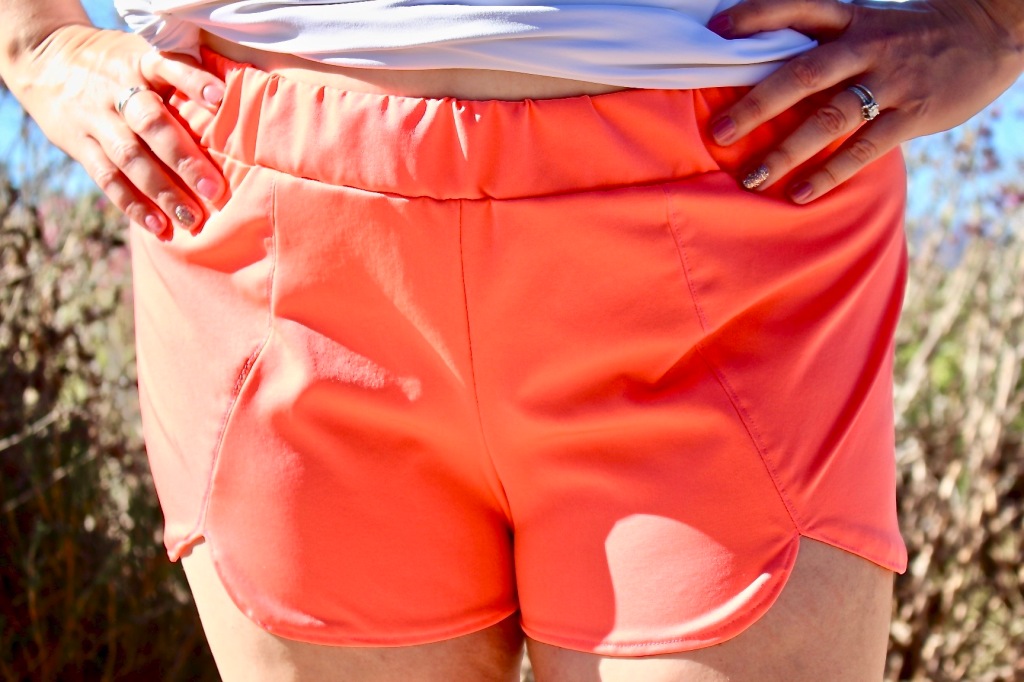
Pattern Options:  Relaxed fit, Slim fit, 2″ inseam, 4″inseam, low rise, mid rise, high rise, trim and bias tape options.

Intended Fit:  Relaxed or Slim Fit

Options Made:  Slim Fit, 2″ inseam, mid rise

Fabric Used:  Coral Stretch Twill

Comments:  I love this designer’s patterns. There is no cut layout, all pages are printed landscape, make sure to check your settings in case you need to change them. The pattern does call for trim, which I left off because of them being dual purpose.  The problem is that I kind of had to wing it because there are no instructions on how to sew these shorts up with no trim. I want to try the relaxed version next time, and see how that compares to the slim fit version.

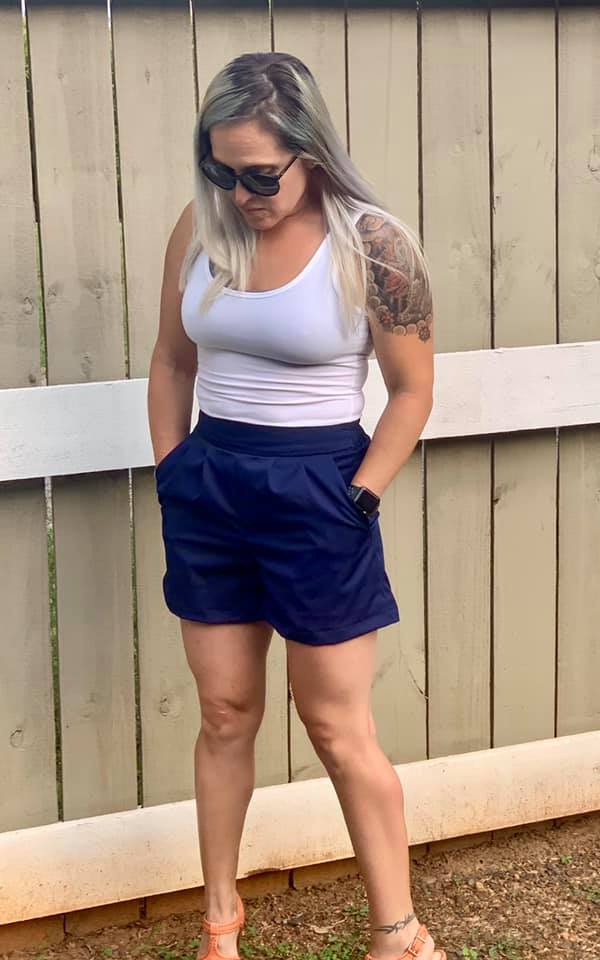
Made By Rae Rose Pants/Shorts

Sizes:  Women’s sizes XXS – XL, Plus Sizes 1-5 

Size Made:  XS

Drafted For:  5′ 6″

Pattern Options:  High-waisted pants and shorts sewing pattern with slash pockets and a pleated or gathered front. The front waist is flat while the back waist is elasticized. Choose from three lengths: long, cropped, or shorts

Options Made:  High waisted shorts with pleats and slash pockets

Fabric Used:  Navy Stretch Twill

Comments: Sizing is true to size. I did take a little extra seam allowance to slim them down through the hips and thigh.

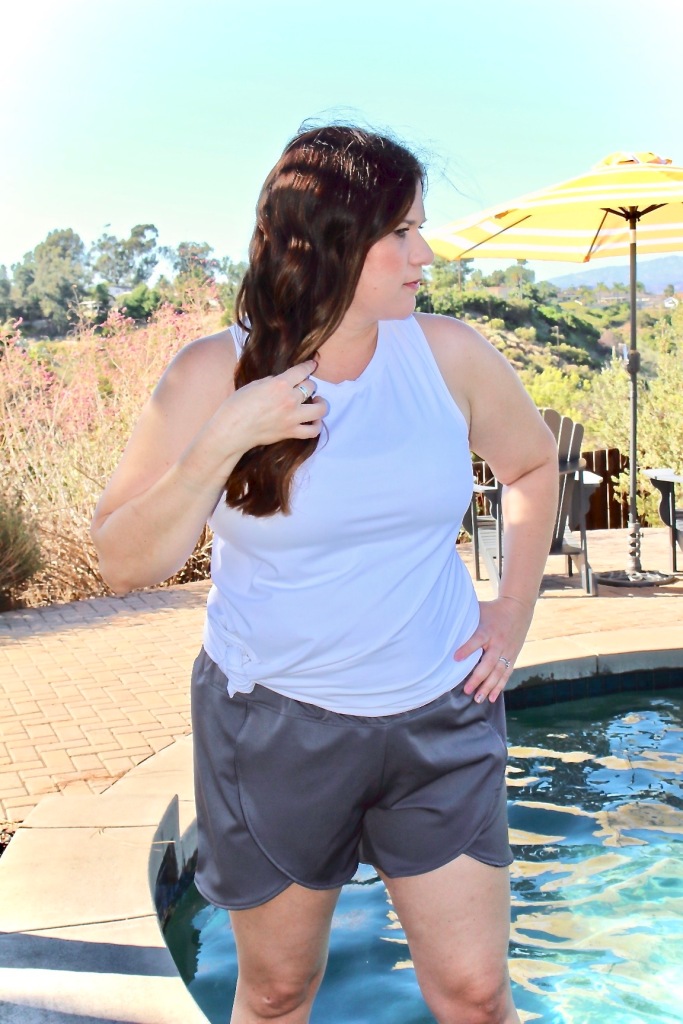
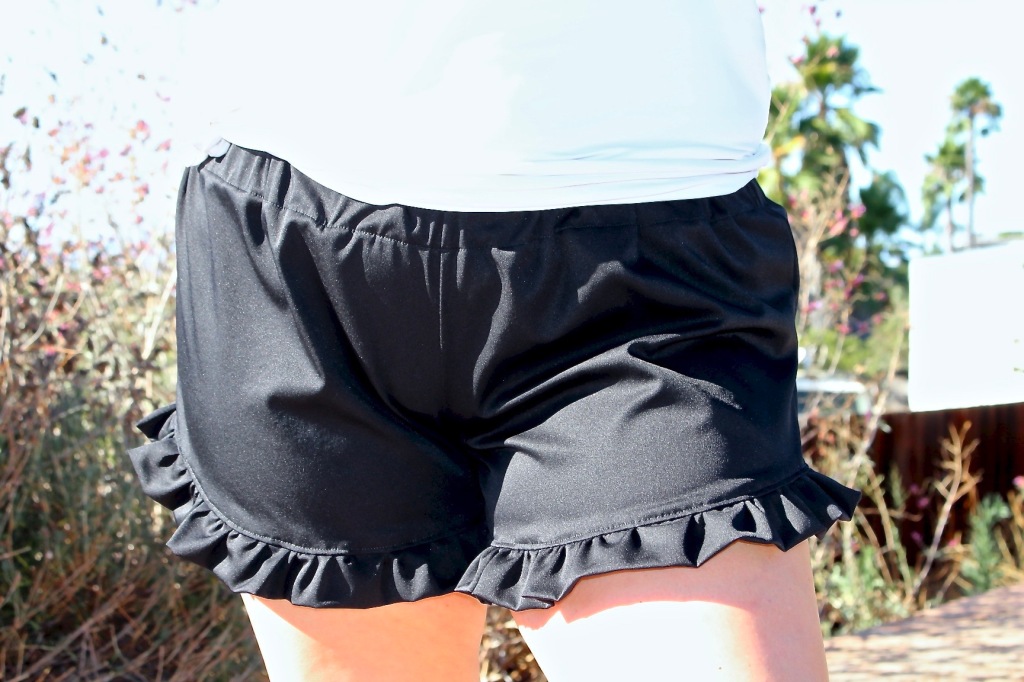
Made For Mermaids Women’s Lucy Shorts

Sizes:  Based on colors

Size Made:  Green

Drafted For:  5′ 5″

Pattern Options:  3.5″ curved and straight hems, 4.5″ curved and straight hems, trim and bias tape options.

Intended Fit:  Relaxed low rise shorts

Options Made: 3 1/2in curved hem

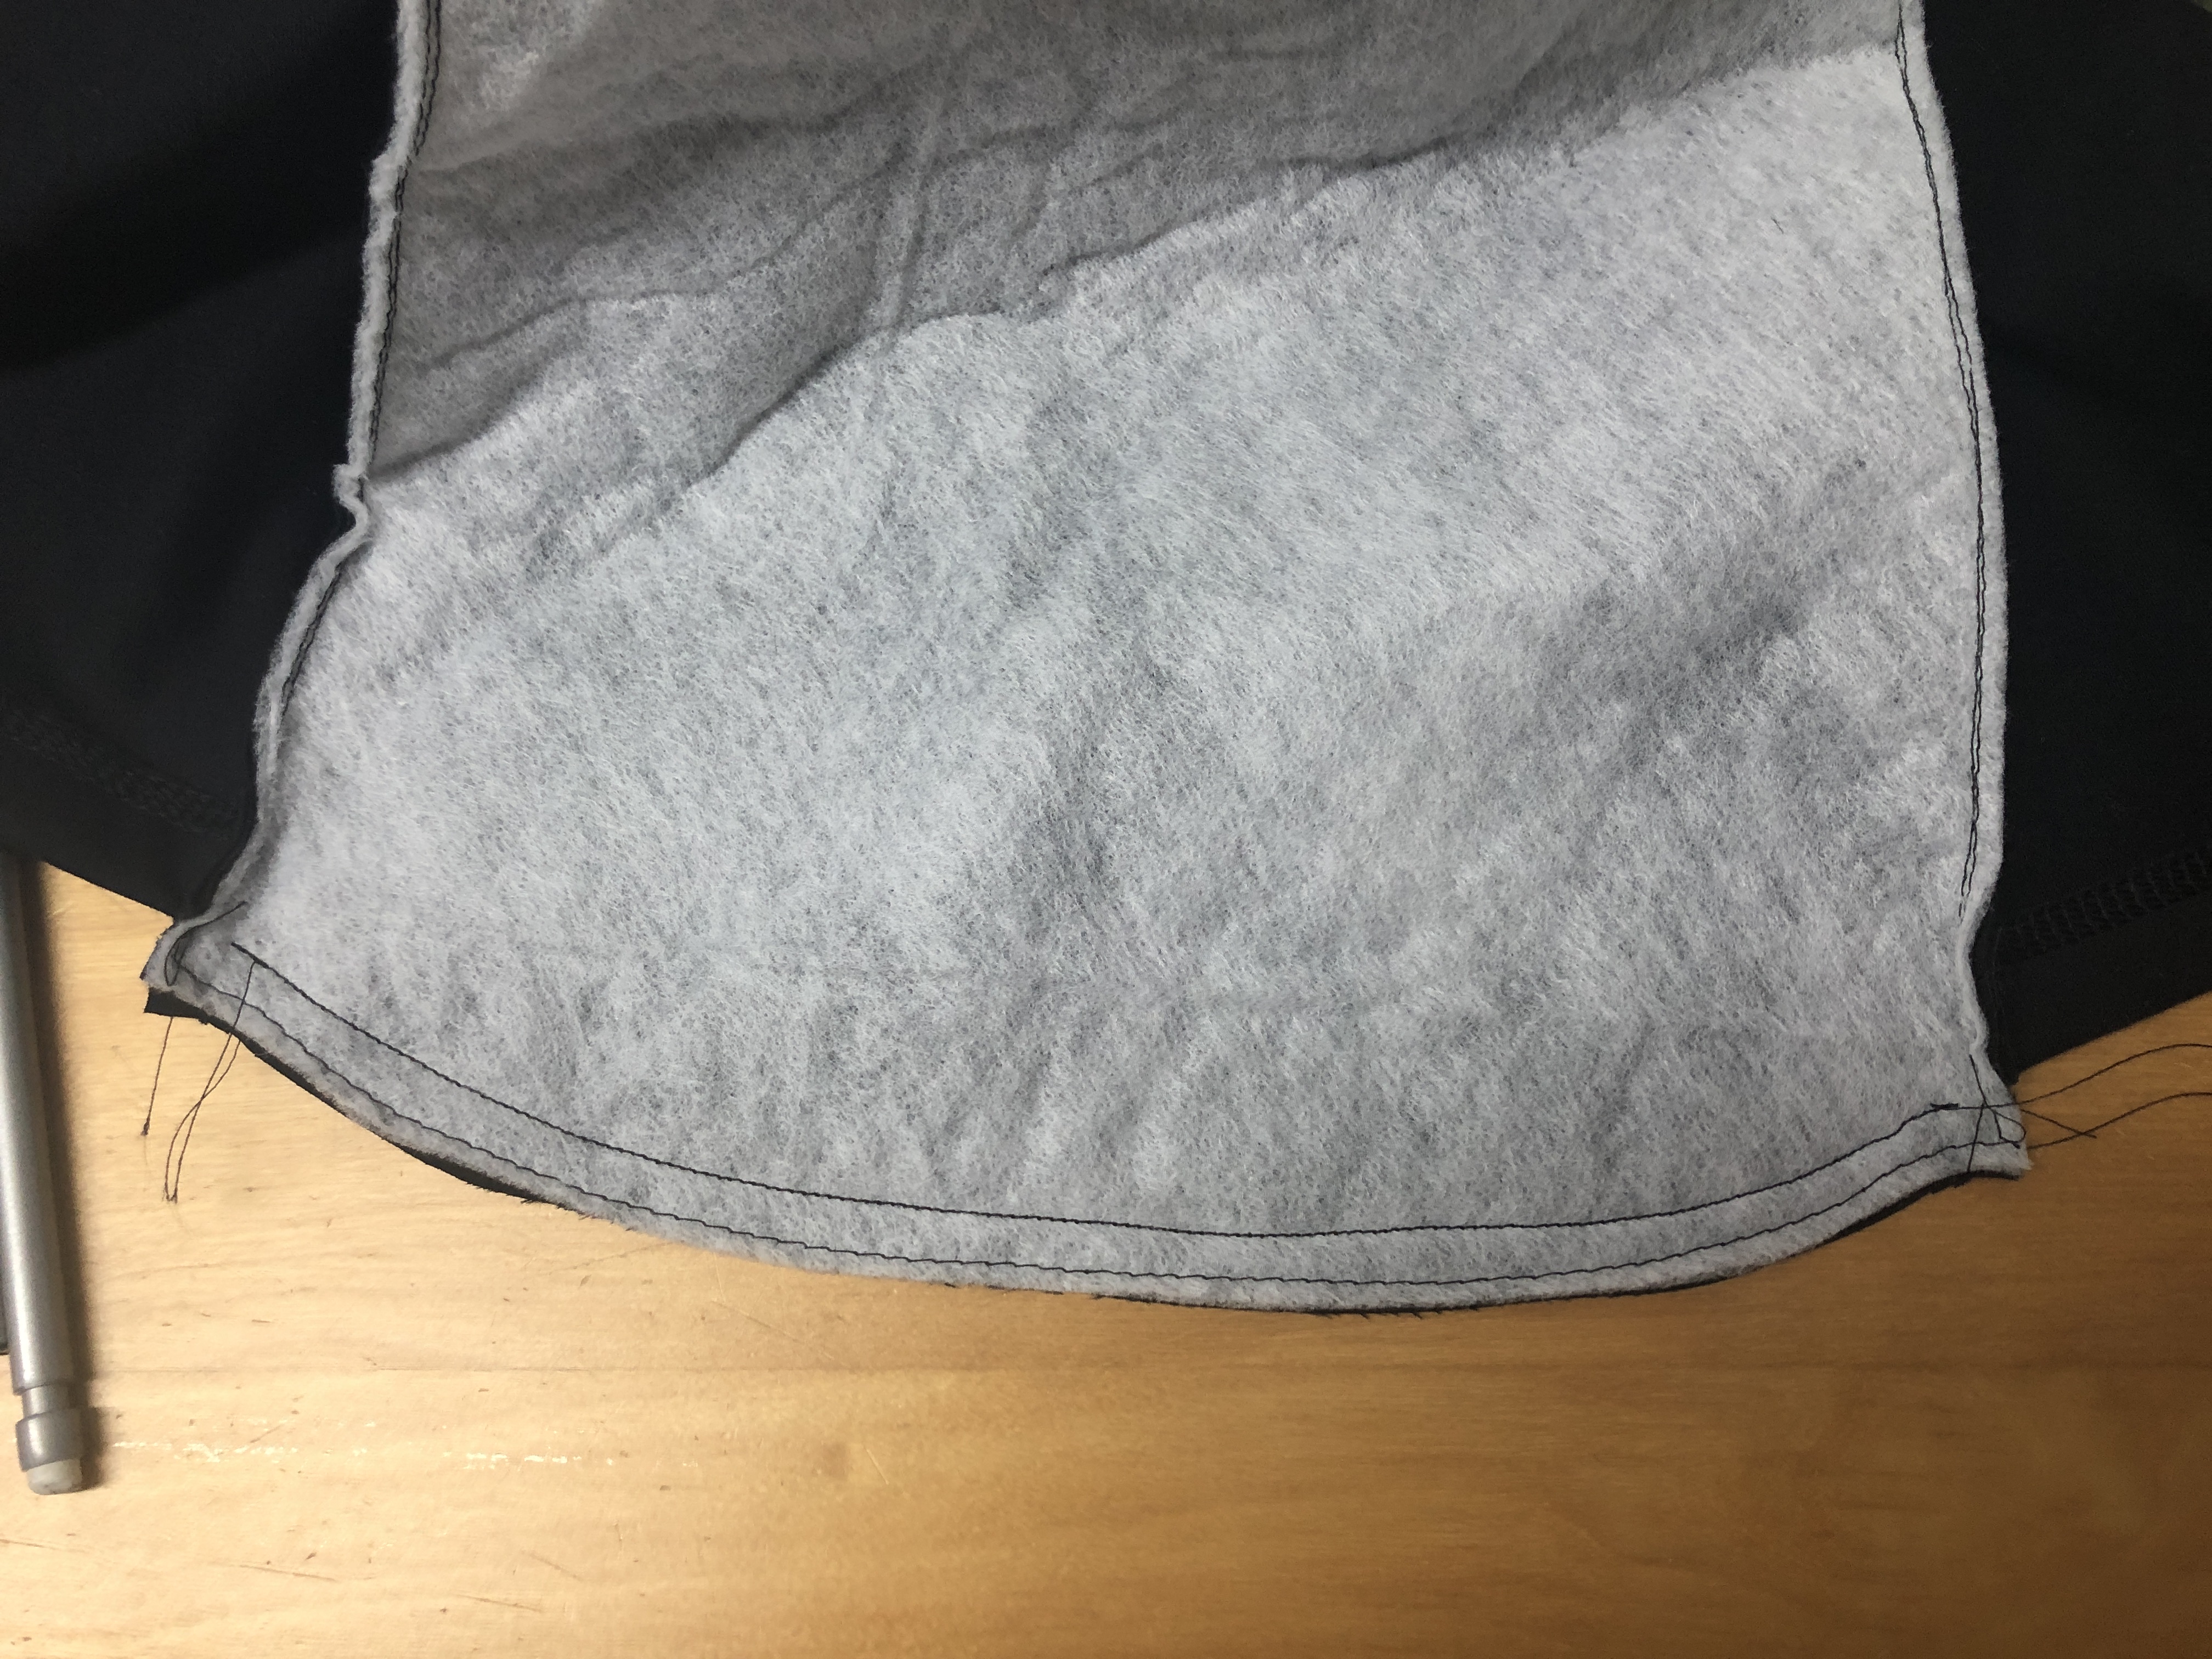
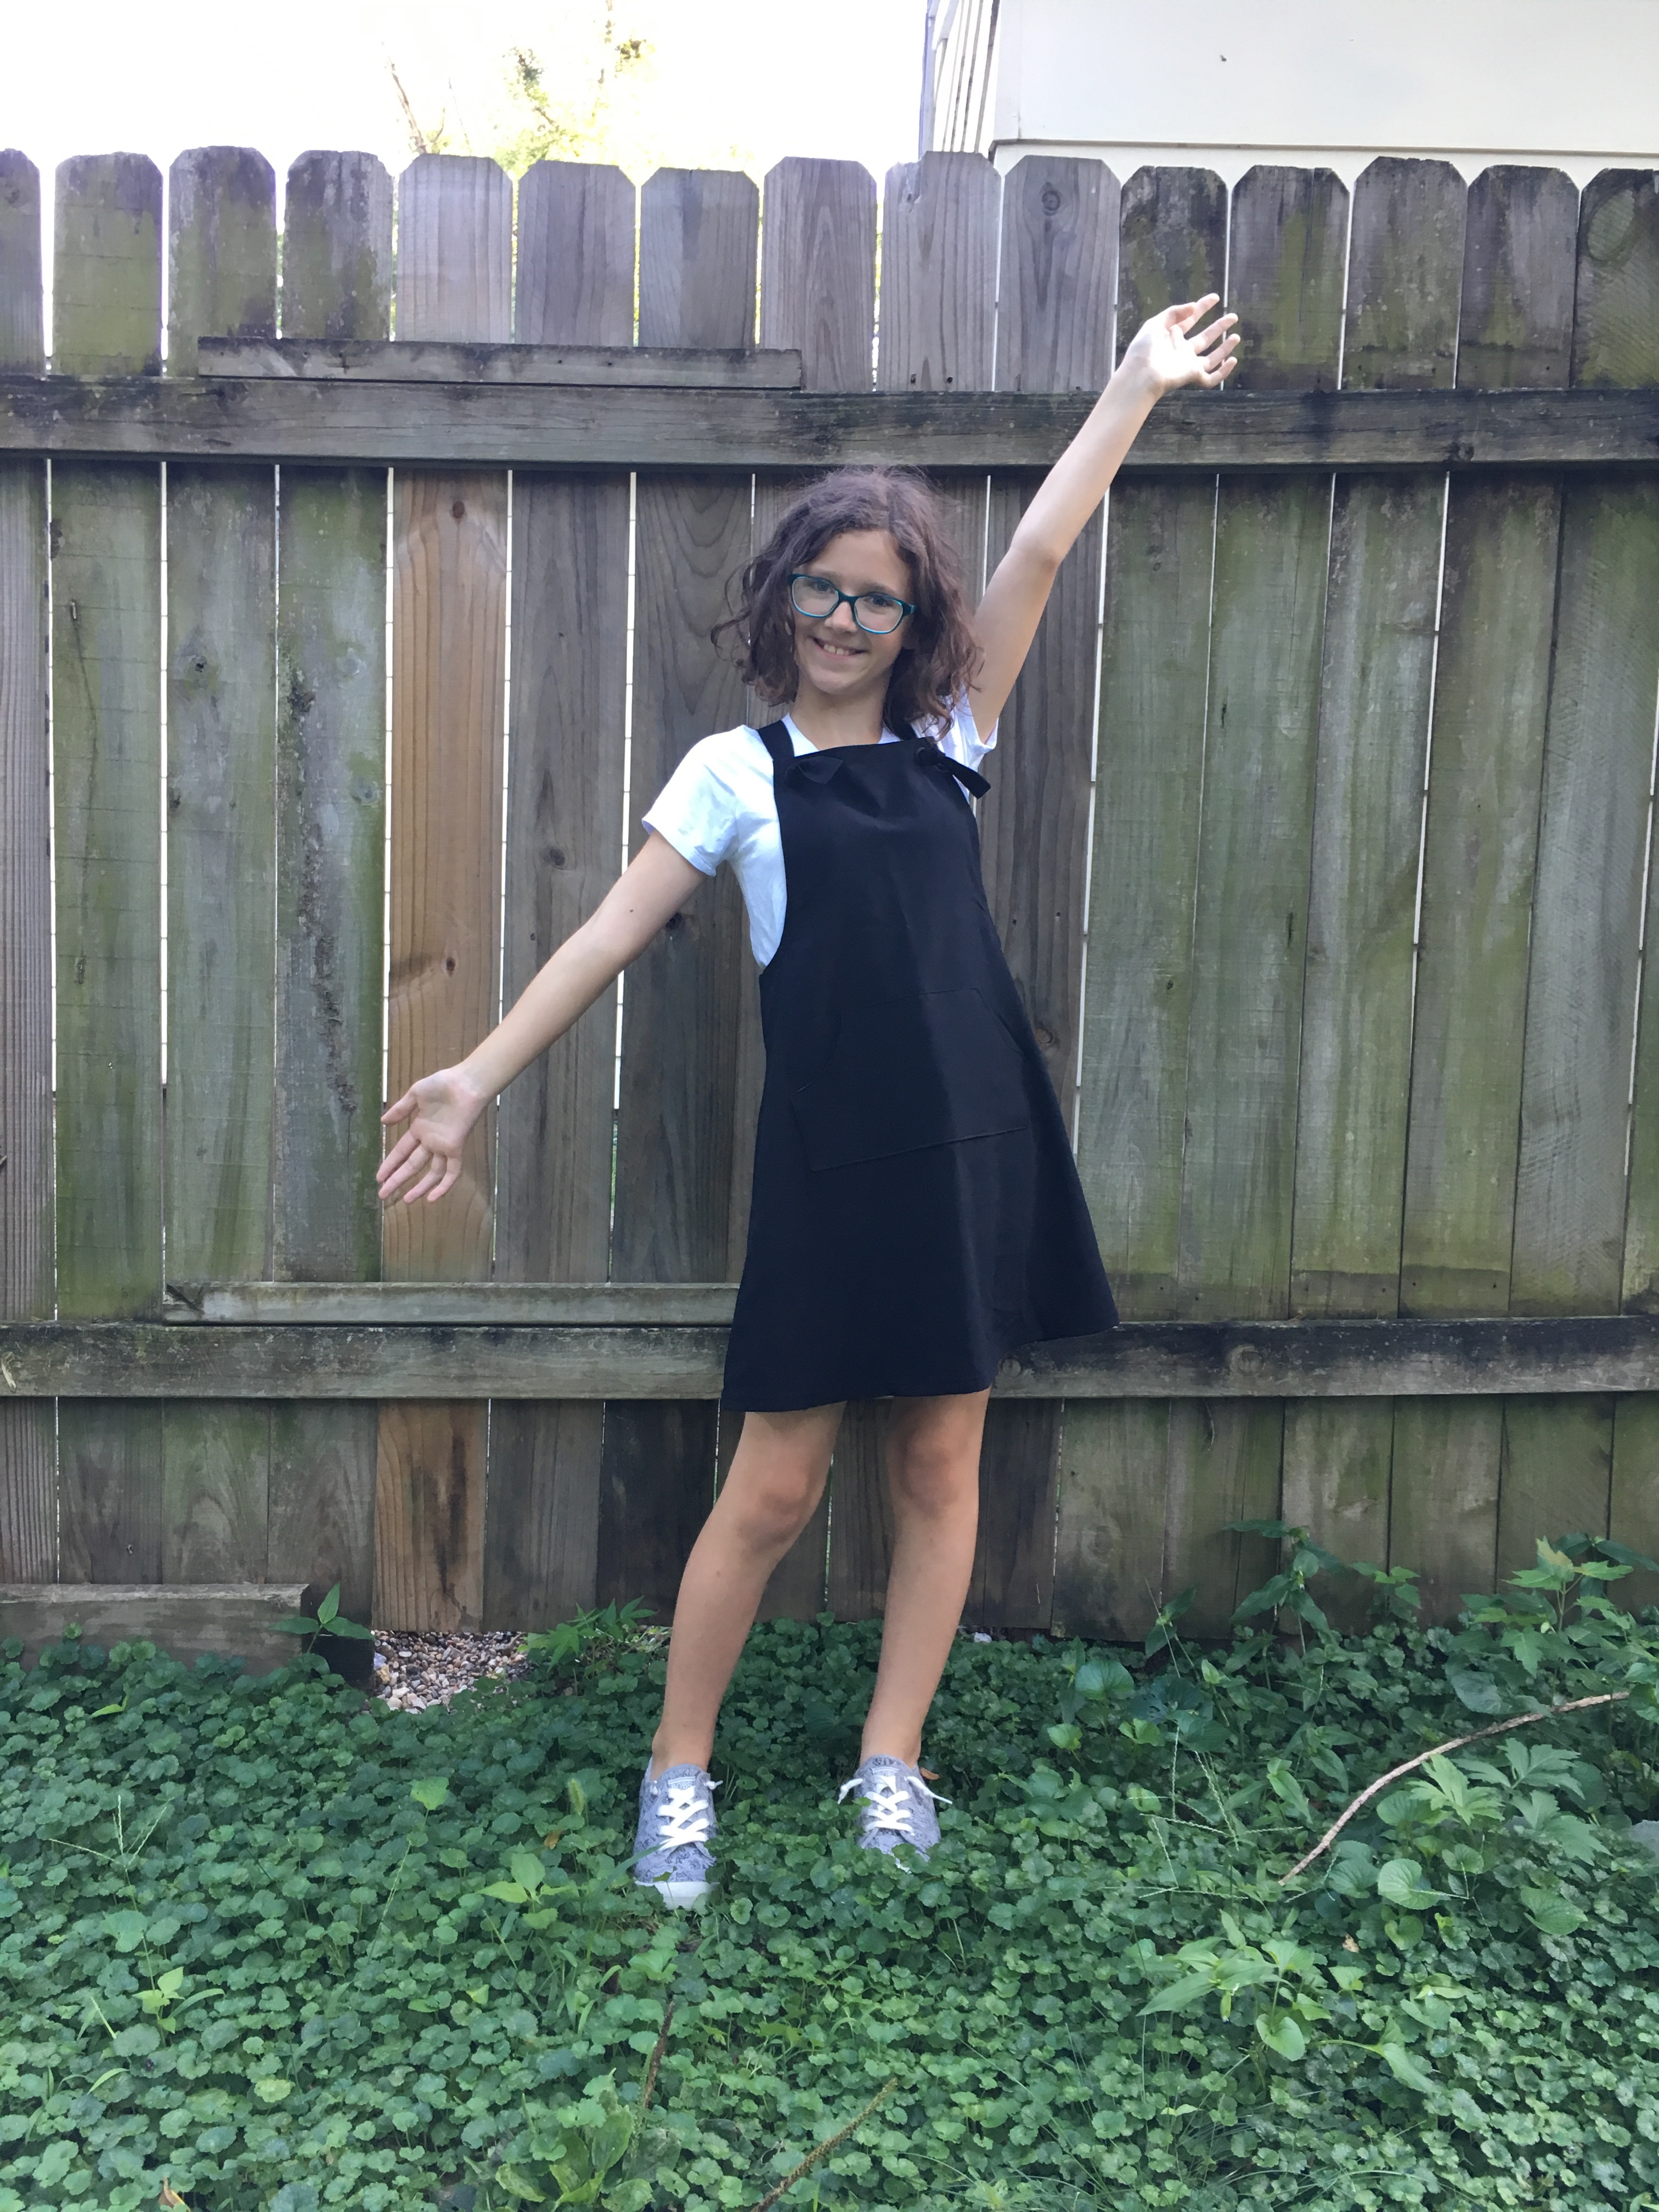
Fabric Used:  Black Stretch Twill

Comments:  Easy to follow instructions. Quick sew. These shorts are low rise but it is easy to adjust the rise if you wanted a higher rise. You can also do the ruffle hack, like the ones pictured by following this blog.

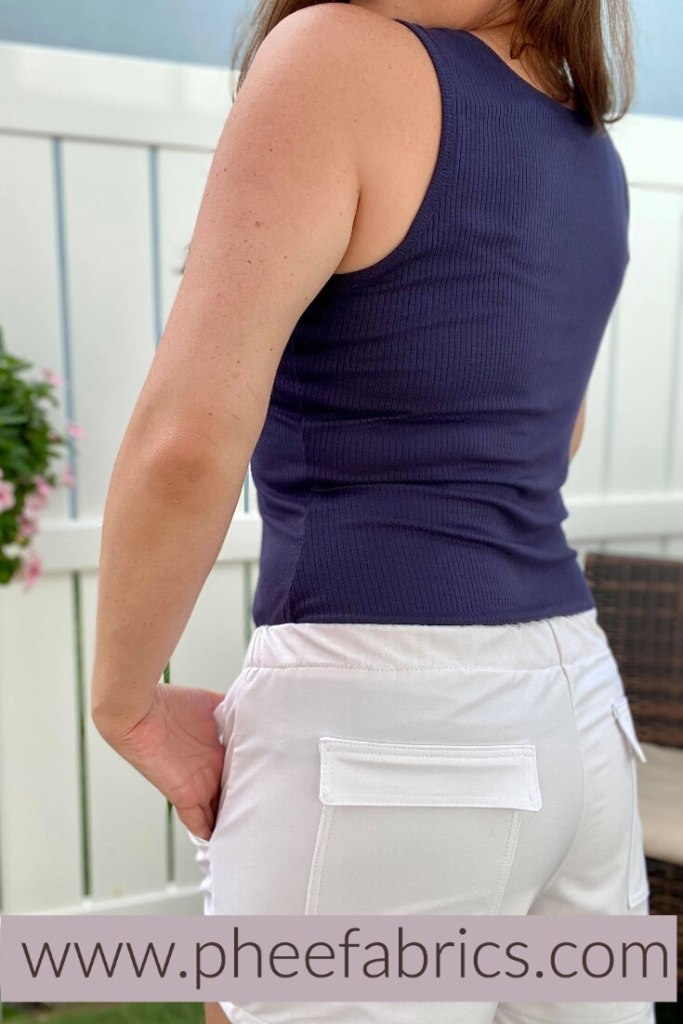
Patterns For Pirates Linen Loungers

Sizes: XXS- Plus 3X. There is also a kids version called Little Loungers

Size Made:  XL

Drafted For:  5′ 5″

Pattern Options:  Curved hem, shorts length, cuffed shorts, button tab, bermuda length, capri length, pant length, elastic waistband, yoga waistband, back pocket, exposed front pocket, slat pockets, grommets and tie option, faux fly

Intended Fit:  Loose, Relaxed fit

Options Made:  Curved hem, shorts length, back pocket, elastic waistband, faux fly

Fabric Used:  Navy Stretch Twill

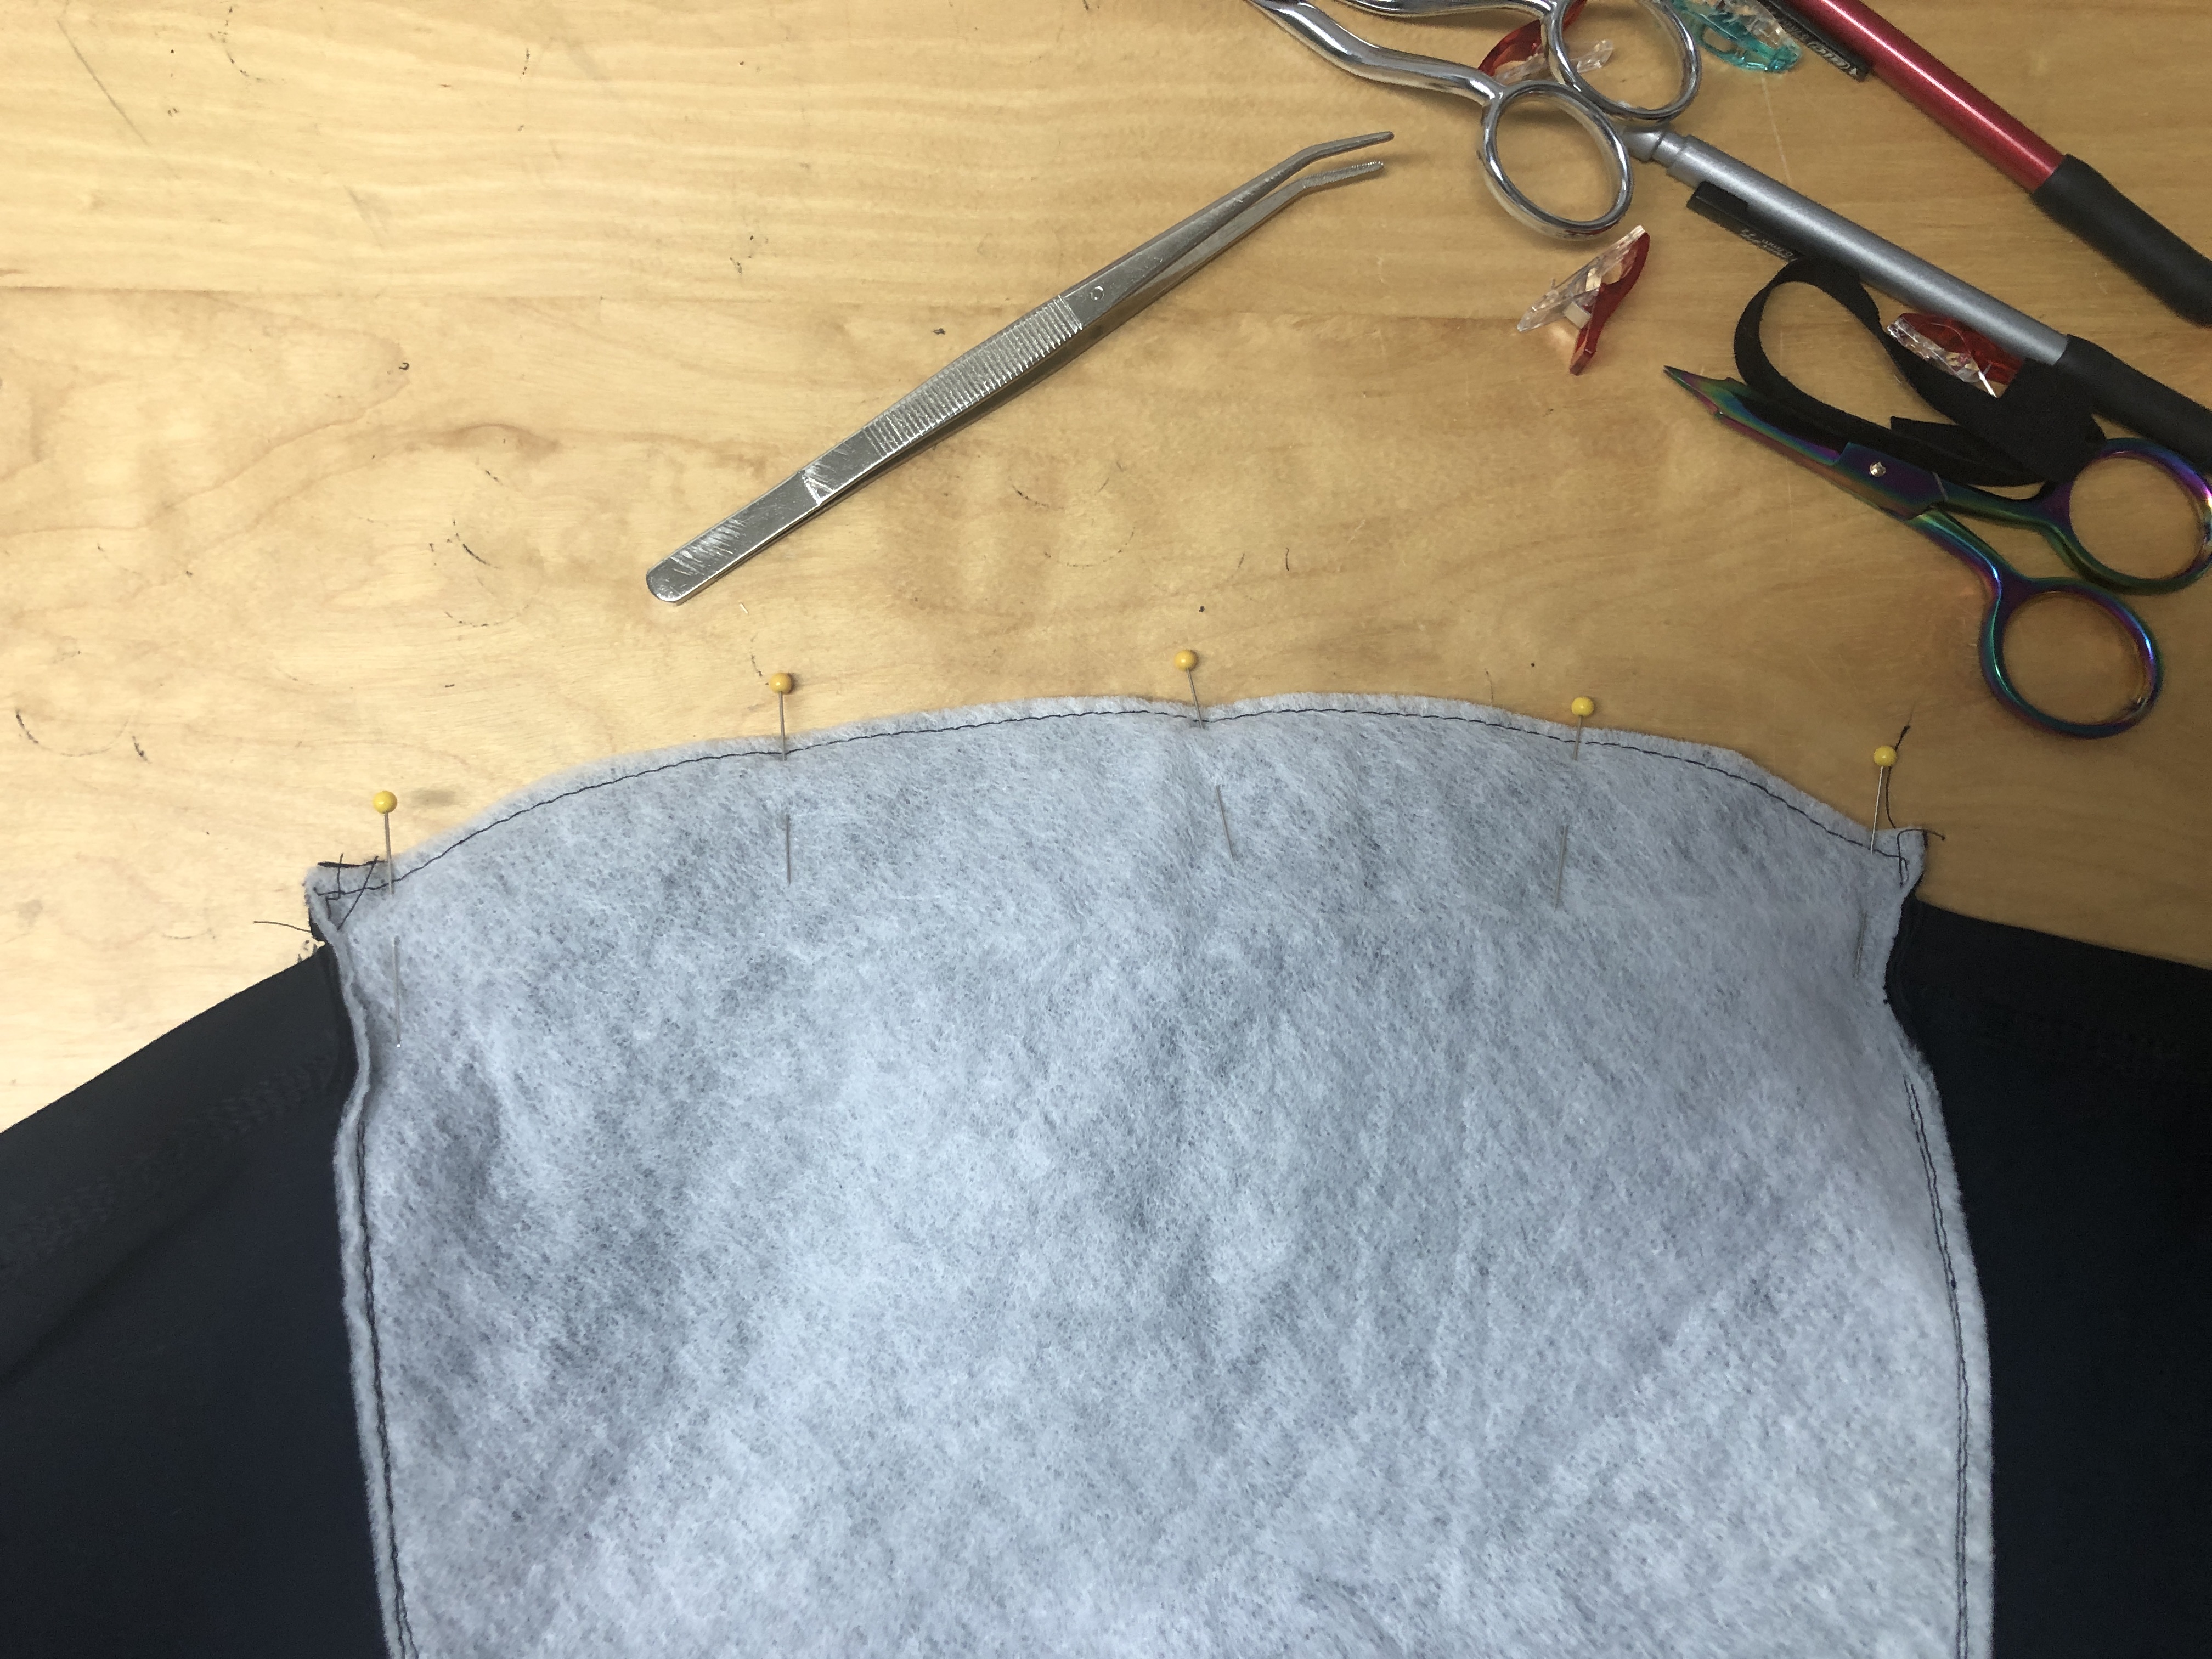
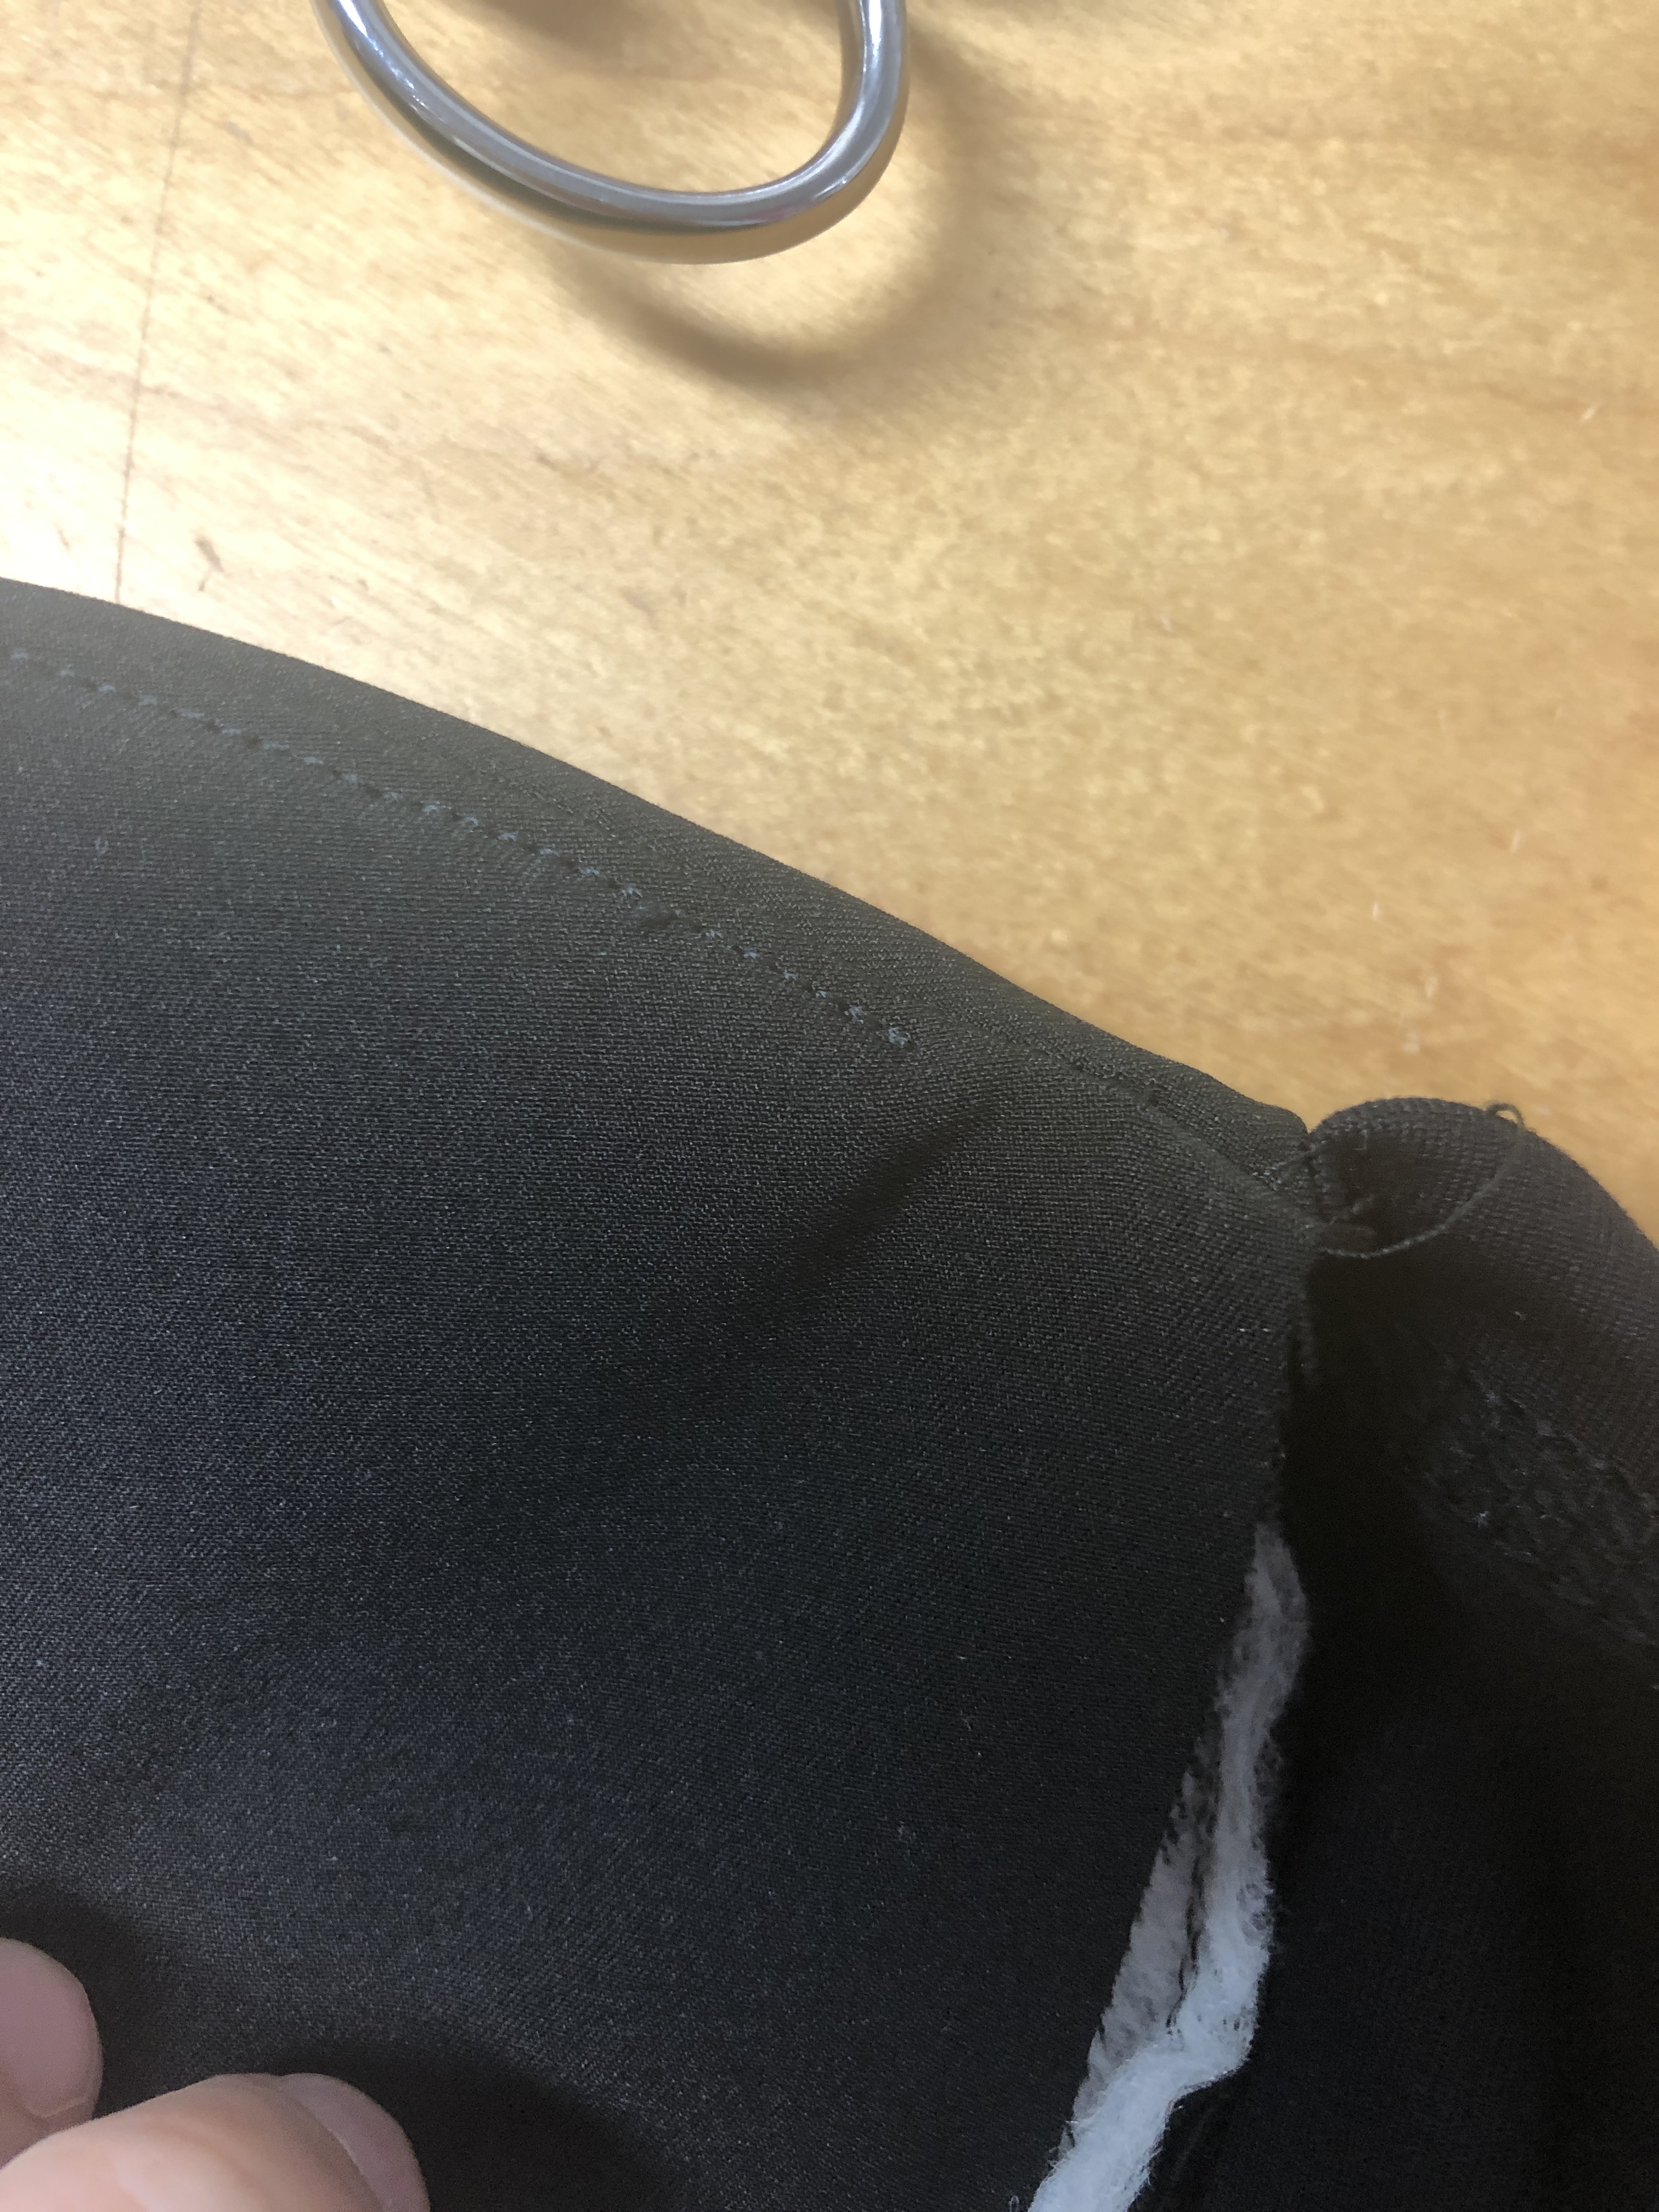
Comments:  I found that these have a mid rise fit. Basting your back pockets on first with help achieve the desired placement. The instructions include a faux fly but I did mine the way I’m used to.What I did was with right sides together, sew around the faux fly using a 1/4in seam allowance until you get to the curved crotch, then switch to 1/2in seam allowance.  Clip all of the curves, then turn right side out.  Fold fly over the front of the shorts, then top stitch the fly down and around the fly like shown in pattern.  That’s it!  

Lulu Inspired Vest Hack

It all started with my run for cold lululemon vest. I wear it all the time, but I really wanted black, as mine is purple. I started with the Twig + Tale Trailblazer Vest, as the lines were perfect for what I was after.

img_9791-1

Materials Used

Sizing

I looked at the finished measurements of the pattern to determine my sizing since I knew I was adding a stretch on the sides. I went with the size that was closest to my measurements.

Hacking Pattern Pieces

I highly suggest doing the non-curved back version, as I had to do a lot of hacking to get just the back piece to dip down a little. The curves of my back are not in line with the pattern’s back. When I make another one, I will be doing the straight bottom. Using the straight bottom will also make hacking the side a lot easier.

Using the front side and back side, mark the seam allowance at the armcye. Match these 2 pieces up. Since I used a stretch fabric, I pulled the hem of my pieces to overlap more. I wanted the edges where the side meets up with the front and back to be more parallel to the grain. You also need to add a hem either before cutting, or extending past the bottom SA.

Acronyms Used

  • RST: right sides together
  • SA: seam allowance

Cut

  • Front: 2 exterior, 2 lining (stretch twill)
  • Back: 2 exterior, 2 lining (stretch twill)
  • Collar: 1 exterior (stretch twill), 1 lining (supplex)
  • Side: 2, using new side piece (supplex)

I didn’t do this, but after wearing mine the first time all day, I realized that I should have trimmed the armhole seams off. Learn from my mistake.

Assembly

Before you start, read through all instructions, since this was my first time doing this, there are some steps that could be done in a different order. If you’re an experienced sewist, use your gut, as I know I will be doing it in a different order next time, but I just haven’t wrapped my head around how to go about it.

Pin the front to the batting, making sure to keep everything flat. Baste around the outside within the SA.

Trim batting to line up with the edges of the front. Repeat with other front piece, back and collar.

Quilt the exterior to the interior within the max distance for your batting. I used a triple straight stitch to quilt mine since there is some stretch in the twill, and I wanted to be able to move freely.

Sew shoulder seams of exterior, and attach the collar.

Attach zipper with a basting stitch.

Sew front and back lining pieces together at the shoulders.

Hem side pieces. Don’t be like me and forget how much you added for your hem, write it down. Trying to figure it out was torture.

Pin and baste the side pieces to the back (exterior) RST, starting at the notches and working your way towards the armcye and hem.

Pin lining back bottom (hem) to the exterior back bottom RST, keeping sides out of the way. Stitch together using pattern’s SA, making sure it lines up with the hems of the sides.

Understitch the SA to the lining, starting at least ½” from the side seam. If your hem on the back curves, clip SA, along the curve before understitching.

Tuck sides between the 2 back pieces (exterior and lining), so that backs are RST. Fold SA from the bottom towards the lining. Pin and stitch side seams. Trim SA, then pull it right side out. Press seams.

Flip the front exterior and lining pieces so that they are RST, making sure not to twist the shoulder seams, meeting the hems together. Pin the hem, flipping the bottom of the zipper out of the way, and stitch.

Understitch the SA to the lining from the side seam to at least ½” from center front.

With front pieces RST, pin the side to the front exterior and baste. Work in the same manner as you did the back, to complete the side seam, making sure to turn the SA toward the lining. Trim SA, clip curves, turn right side out, and press.

Pin and baste shoulder exterior and lining together along the armscye. If you didn’t remove the seam allowance from the armcye, do that before basting.

Smooth front lining over to the zipper. Pin and baste in place. I used wonder tape to help with easing the lining to the front.

Match the neckline seam of the lining to the SA on the exterior collar. Pin and baste together. This will be covered with the collar lining, but will help hold everything in place until then. You won’t be able to get right up to the zipper, and that’s okay.

Attach the zipper, stitching through all layers. Add foldable elastic along the edge of the zipper to cover the edge and the SA. This will only go to where the lining stops at the neckline. Leave about ½” past the hem of the zipper to fold under. I attached on one side of the elastic to the zipper, then folded it under and pinned in place for the later. You can do it this way, or attach both sides at the same time.

Pin collar lining to the exterior along the top and front, folding bottom of collar up at the bottom along the zipper. Stitch making sure to stitch along the same stitches you already have from attaching the zipper. If desired, understich the top collar SA to the lining. Turn right side out, and press.

Fold the tail of the foldable elastic up under the zipper towards the inside. Stitch in place and trim any extra.

Pin zipper edge to the lining and top stich from the right side.

Fold collar lining opening under extending just past the seam where the collar meets the neckline. Pin and stitch in the ditch from the right side.

Finish off arm openings with foldable elastic. I slightly stretched as attaching, and this helped to keep everything smooth along the supplex area.

Other things I did

I also hacked some pockets on the front, but they are really small, so I need to figure out better measurements for this. On top of that, I added a windflap to the inside, but my measurements were completely off, so I didn’t share this in my tutorial either.

Transitional Outerwear: A lightweight LoneTree Vest using Stretch Twill

I am a cold weather person through and through. Long sleeves, high necks, big scarves, and bundling up are some of my favorite things and when the weather turns colder nothing gets me more excited than layering as many me-mades on my body at one time as possible. Last year I made a handful of jackets. This year it was time to branch out just a little bit farther and make a vest!

I found this LoneTree Jacket. It ranges in size XS – 4X, comes in vest or jacket versions and drafted for Stretch Twill. Phee Fabrics introduced this fabric base in the spring of 2019. It has a slight 4 way stretch, is moisture wicking, quick drying, great drape without losing it’s shape, wrinkle resistant and machine washable. While using it for summer sewing I couldn’t wait to see how it would transition into fall sewing.

I worked it up in the Black Stretch Twill (other colors are also available. Check them out here). I adored how quick and easy it was to put together. Unlike with the jacket version of this pattern I did not need any alterations for the vest version and made a straight size XXL (my measurements are 44,34,45).

I did choose to leave off the upper pockets because my boobs are large enough and we dont need any additional fabric or attention in that area!

If you haven’t gotten a chance to sew with the Stretch Twill from Phee Fabrics yet, it is one of the easiest woven fabrics I have had the pleasure to sew with. Normally I am a knit person and have at least twenty garments hanging in my closet made out of the Phee rayon spandex. I typically avoid sewing woven patterns if at all possible. Woven fabrics don’t stretch like knits. The fit in knits tend to be more forgiving, Phee Fabrics stocks plenty of high quality knits, make sure to check them out. Woven’s usually require zippers, which I abhor. We all have our thing, amirite?

The Phee Stretch Twill has a 4 way stretch of 10% in each direction. Which means it is much easier to fit garments made out of it! It also sews and presses like a dream which makes the fiddly construction of things like this vest easy and painless.

When I first made this pattern I jumped right in with the full jacket version and had a bit of a time trying to fit the sleeves for me and it put me off from the pattern altogether for a while. If you are new to sewing, interested in a beginner outerwear pattern then I definitely think this vest is the way to start! Plus, the drawstring waist makes this one easy to fit, which I think also makes this a great first outerwear piece.

Happy sewing!

Tween Capsule

My daughter has come into the size range where it’s hard to find patterns that are sized for her, this age range is known as the tween ages. Being a tween is when you’re no longer an age that is a single digit, but also not yet a teen. You’re probably thinking, yeah, I already know that. The other definition of tween is between, and in the PDF pattern world, there are only a fraction of the patterns available for between child and adult sizes.

When searching for designers, I found a lot that said they were tween, but many really only went up to size 12, which in my eyes doesn’t quite make it to adult size. For those who do, there aren’t a ton of different designs available. And with all honesty, if I’m going to buy a pattern for my daughter, I don’t want her to be at the top of the size chart, I want to be able to use the same pattern for a few different sizes.

With my daughter’s clothing she weighs in on these three things equally:

  1. How does it (the fabric) feel? She loves anything soft, everything from Phee checks this box, so I never have to worry.
  2. Do I like it? Sometimes I’ll show her patterns to see if she likes them, other times Pinterest when I see something cute. As long as she likes it, this box gets checked. I also like just going my idea, and seeing what happens, this works most of the time.
  3. Is it comfortable? She refuses to wear anything that isn’t comfortable. I don’t blame her.

When working on her capsule I knew that she needed basics that she could mix and match together as well with any prints that she has. One things she lacks is solids, so adding these solids that don’t look basic are perfect for her.

Jumper and Basic Tee

Violette Field Threads Maddie Jumper in Black Stretch Twill and Hey June City Park Tee in White Rayon Spandex

She said she wanted overalls, but I kept seeing really cute jumpers/pinafores all over, so I really wanted to make one. I chose Phee’s stretch twill (black) because it’s durable and super easy to wash. It also doesn’t wrinkle, so she can change for PE if needed throw it in her locker and when she puts it back on, it won’t look like a mess.

Basic tees were definitely needed, and the City Park Tee was a perfect patch to Phee’s 13oz Rayon Spandex. She will definitely outgrow this t-shirt well before it shows any signs of wear. I love that the fabric is easy to sew because of its thickness, is super soft (which she loves), and doesn’t pill after repeated washings.

Joggers and Basic Tee

Hey June City Park Tee in Turquoise Rayon Spandex and Sofilantjes Domi Sweat Pants in Black Rayon Spandex

Surprise another City Park Tee in you guessed it, rayon spandex. Seriously, the best part of this outfit is these joggers. She put these on and couldn’t get over how soft and comfortable they were! And her favorite part is the pockets. I chose to use some scraps from my leftover tee to bring some color to the joggers.

Overalls and Fancy Top

Abby’s Overalls by The Wolf and the Tree in Charcoal Supplex and Sew a Little Seam Brynn Top in Orchid Rayon Spandex

She got her overalls, but she won’t be wearing these for much longer. Don’t forget to double check measurements before cutting your fabric and sewing. I thought I was using the correct size, but I actually cut out the pattern that I had from months ago. I promised her that I’ll be making her a bigger size though, because they are too cute and she’s not off the chart for these yet.

Phee’s supplex is my favorite when it comes to making bottoms for my daughter. I don’t have to worry about holes, as the fabric is super strong yet really soft.

When the Brynn Top was first released I was excited for all the different options. When we were on a flight I was looking at the pattern and she started oooing and ahhing at the different tester pics. I knew one way to let this pattern showcase itself was to use Phee’s solid rayon spandex and let the design speak for itself. I just love the way these sleeves drape.

Leggings and Knotted Top

Jalie Clara Leggings in Black 18oz Supplex and Sew a Little Seam Brynn Top in Light Heathered Gray Rayon Spandex, with Orchid Rayon Spandex trim

This girl loves leggings from Phee’s supplex, I think because it’s just like the Ivivva (Lululemon’s brand for girls) leggings she has. This also isn’t her first pair of Clara leggings, and I love how fast these are to sew since they don’t have a center front seam.

Another Brynn Top, as she had other feature requests which were too many to do all in one shirt, so I opted for two. I used some leftover of the orchid rayon spandex which works beautifully with this light heathered gray. If you can’t tell I also used it as a contrast on the side knot and the hem facing, which adds a pop of color.

Bonus Sweatshirt

Sinclair Patterns Demi (one of my favorites) in Oatmeal Cozy French Terry, Oatmeal Rayon Spandex, and Medium Pink 2.5″ Stretch Lace Trim

She’s finally in the size chart for Sinclair Patterns! I used the Petite size and shorted all pieces even more in multiple places throughout to get a pattern just right. I couldn’t be happier!

This sweatshirt was a labor of love for me. It all started with a Pinterest picture and I instantly knew I had to make it for her. The new Cozy French Terry is so soft and fluffy, so it was perfect for her list. The oatmeal cozy French terry and the medium pink lace look sooo good together!

There’s a few hacks I made to the Demi, I didn’t just add lace to the sleeves, I cut away part of the fabric from underneath the lace. I used a narrow zig zag to attach the lace while the sleeve was flat.

I also added thumb cuffs, because I know she loves them. I had some oatmeal rayon spandex in my stash, so I opted for that on the neckband, thumb cuffs, and bottom band. I’m so happy with the way this turned out.

Her Favorites

We all have our own favorites, but I just had to ask her what her favorite item was. She couldn’t give me a straight up answer, I think it’s because she likes everything so much. Instead, this is what she said:

  • Outfit: Jumper and Basic Tee
  • Top: Orchid Brynn Top
  • Pants: Rayon Spandex Domi Joggers

If you stuck with me this far, please let me know what your favorite outfit or item is. I can’t wait to hear what you think!

Note: This post may contain affiliate links to products. All opinions and thoughts are my own. I may receive a commission for purchases made through these links.

Made for Traveling in Stressful Times

This past month has been completely hectic for me, as I’ve been feverishly sewing summer clothes for my daughter, recording videos for the Sew a Little Seam Linden sew along that took place in the Phee Fabrics Sew Along group on Facebook, and getting ready for our summer vacation. All of these things lead to stress, and I just needed something to calm my mind. I had been working on a swimsuit for myself that was going every way, except for the right way, as sizing was completely off, so I set it aside, and started working on something fun for myself.

I had two things in mind, and started working on the first. When Jalie came out with their new patterns this year, the Nikita jumped out at me. I’m not sure what exactly it was about it, but I kept going back to it, so I decided I needed it for my trip. I pulled some fabrics out of my stash, Insane in the Membrane, Cerise Nylon/Spandex, and White Circular Knit are what I pulled out and got started.

burrito.jpg

As I was working, I did things like not paying attention to all parts of my dress on the burrito roll, and then being indecisive on the topstitch thread color around the armbands. These were at no fault to the pattern, in fact, as I was sewing the seam of the burrito roll, I was thinking “I sure love a good burrito roll”, and it would have been so good, if I was paying attention. *facepalm*

dress

It all worked out in the end, and I love the dress. It was perfect today after we got out of the river to throw on over my swimsuit! I expect to be wearing it a lot more during my trip, and not just as a swimsuit coverup.

Now let me get to the best part of this blog post, because seriously I think it’s my favorite part. I don’t know about you, but I love using packing cubes when traveling, they help with keeping things organized, and keeping clothes all together.

bag1

Now that my daughter’s clothing is much larger than it used to be, I knew I needed to add an additional packing cube to our travel bags. I’ve made one in the past when I wanted one last minute and couldn’t get to the store to pick one up, so I decided to do it again. I had a few different colors of Phee’s stretch twill, but decided to go with the coral, because it looked amazing with this zipper I already had.

bag2.jpg

I love the way it turned out. When I got to my happy place today and opened my suitcase to get my swimsuit out, I saw it and smiled. I also couldn’t believe how much I could stuff inside of it and it would still close, I think that little bit of stretch helped to fit even more in than if I were using a regular woven. I like that it’s an antimicrobial fabric, so that I can feel confident putting dirty clothes in it later during my trip.

For me finding joy and getting lost in the moment is creating something that has no instructions or restrictions. Sometimes I just need to make something without restrictions and go with the flow.

Note: This post contains affiliate links to products. All opinions and thoughts are my own. I may receive a commission for purchases made through these links.

Whatever “Twill” Be…

Yes I know, corny right?? 🎵Que’ sera, sera🎶 lol. That’s kinda how I felt this month. I’ve been out of the loop a bit, and I kinda lost my sew-jo. So when we were asked to create something with new fabrics I thought,” oh no 😥 not woven!” But the colors are so pretty I have to try. Let me tell you, this stuff is nothing like any stretch twill I’ve seen before. It has almost a silky quality to it. Definitely not the stiff stuff like khaki pants I had in my mind lol! But now I’m even more worried… This is beautiful and I’m going to ruin it, the pattern I have is to simple, this is not going to work!

I chose the Half Moon Atelier Roma skirt as my base….

Mostly because it was cute and super simple. I haven’t made anything but bowties with wovens in forever. And because it would be simple to alter. Most woven patterns dont fit my curvy hind end so I knew I would need to tweak a few things. So the pattern goes to a 49 in hip😖. Yea not happening I needed to add 10 inches to that. I also wanted an elastic waist because let’s face it, I’m just not ready to tackle fitting a 59 in hip and a 43in waist!

I added my adjustments and whipped up my skirt. (Seriously, like 30 minutes mostly doing the elastic lol) and ugh I didn’t like it, or so I thought….. what do you think?

Sometimes simple is not so bad after all. 🎵Whatever “twill” be, will be!🎵 TTFN!

Here’s my Affiliate link if you choose to use it! Thank you!

https://pheefabrics.com/stretch-twill/?aff=8